Stair renovation can give your interior a huge upgrade, especially when you use transfer steps that perfectly match the colour of your floor. This creates a harmonious look in your house. In this step-by-step plan we take you through the basics of stair renovation with Floer Stair Tread Covers, so you can confidently get started.
What are Stair Tread Covers and Why them?
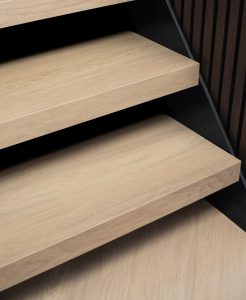
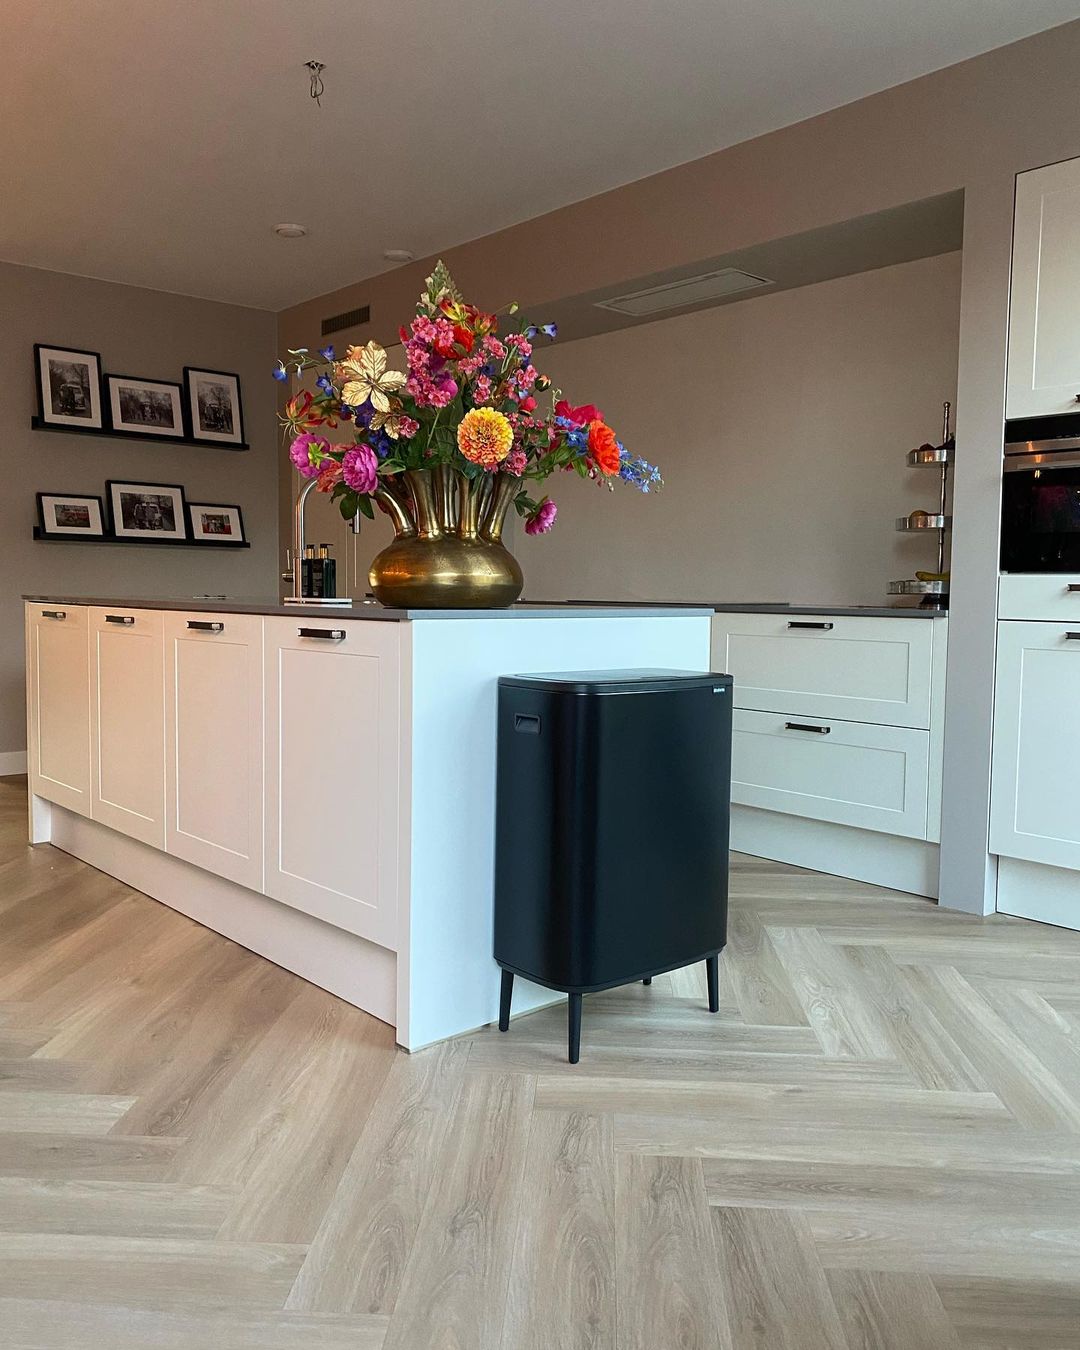
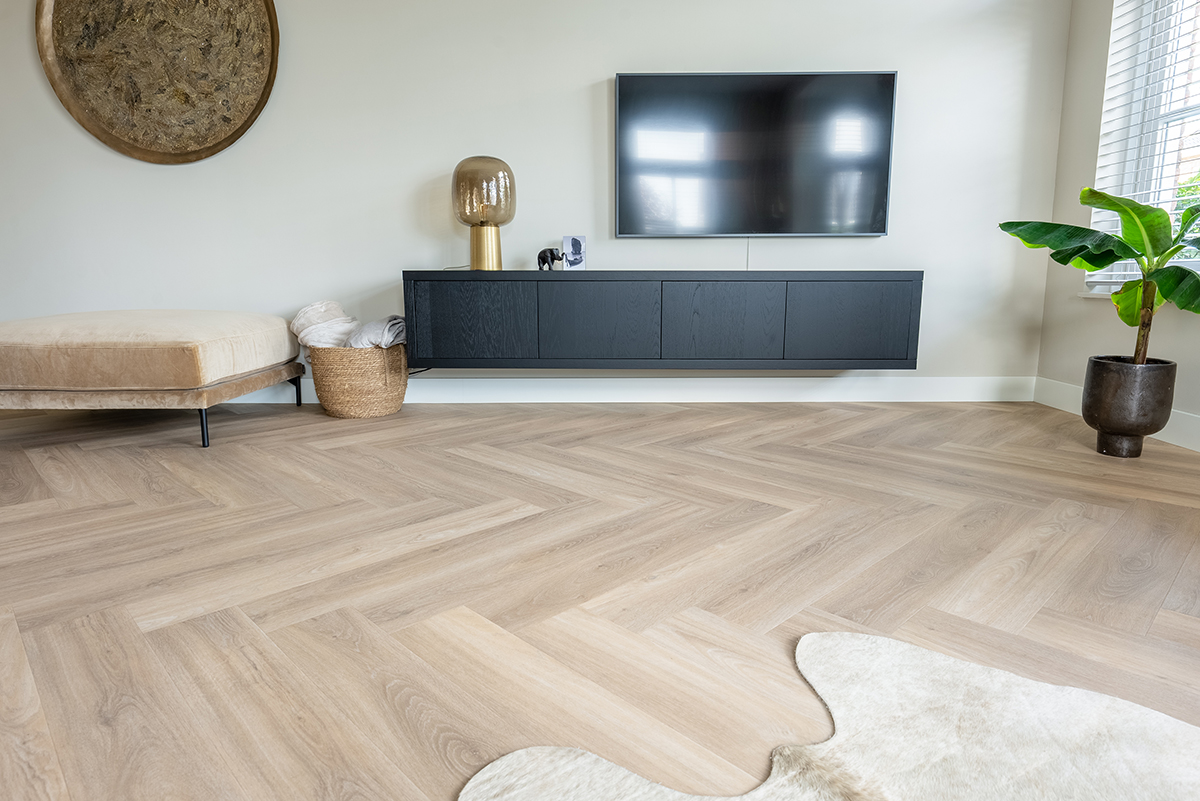
Stair tread covers are the ideal solution for a quick and effortless stair renovation. Floer Stair Tread Covers are not only easy to install, but they are also very stout and have the strongest nose section on the market. This makes them particularly durable and able to withstand intensive use. The solid transfer steps are available in various formats and therefore fit virtually any staircase, from open to closed or spiral staircases. Moreover, they have the same design as your Floer Vinyl floor, creating a harmonious and seamless look in your interior. Thanks to extra options such as LED pre-lights and risers, you can perfectly finish the renovation with a similar colour match.
1. Measuring the stairs
The stair renovation step-by-step plan starts with measuring the staircase properly. it is a very important part! This will ensure that you have the right measurements for the tread covers, so that they fit your stairs and floor perfectly. Measuring the stairs may seem simple, but it is essential to be precise to avoid problems later on.
2. Shorten stairs (if necessary)
Depending on the situation, it may be necessary to shorten your stairs, for example if the tread covers are too long or you want to create a different look. It is important to measure carefully where the shortening should take place, so that the stairs do not become too short or unequal.
3. Sawing the steps
After you have measured and possibly shortened the staircase, it’s time to match the replacement steps to its size. Make sure you cut the front steps correctly to match your staircase and the colour and design of your floor. Always saw the covering steps in the right direction to avoid splinters or damage.
4. Gluing the Stair Tread Covers
Now that you have cut the Stair Tread Covers to its size, it is time to glue them. Use a strong glue suitable for stair renovation to ensure that the Stair Tread Covers stay firmly in place. Apply the glue evenly and press the steps firmly to avoid air bubbles.

5. Finishing the stairs
Finishing is the last step in the process. Make sure the overlay steps are properly glued and that the edges are neatly finished. It may be necessary to seal the seams between the overlay steps and the staircase for a sleek look.
By following this step-by-step stair renovation plan, you can renovate your stairs yourself with transfer steps that perfectly match the colour and design of your floor. Whether you opt for a modern or a classic look, with proper preparation and careful execution, you can achieve beautiful results. Follow all the instructions and you will have successfully #floored your stairs!