![]()
Laying a Laminate floor yourself is a relatively simple job, but laying an Oak Herringbone Parquet floor can be more challenging. Installing wooden floors is not always easy, so it’s best to leave it to professionals or experienced DIYers. In this episode of FloerTube, our professional parquet installer will show how you can install and glue the herringbone oak parquet flooring by yourself.
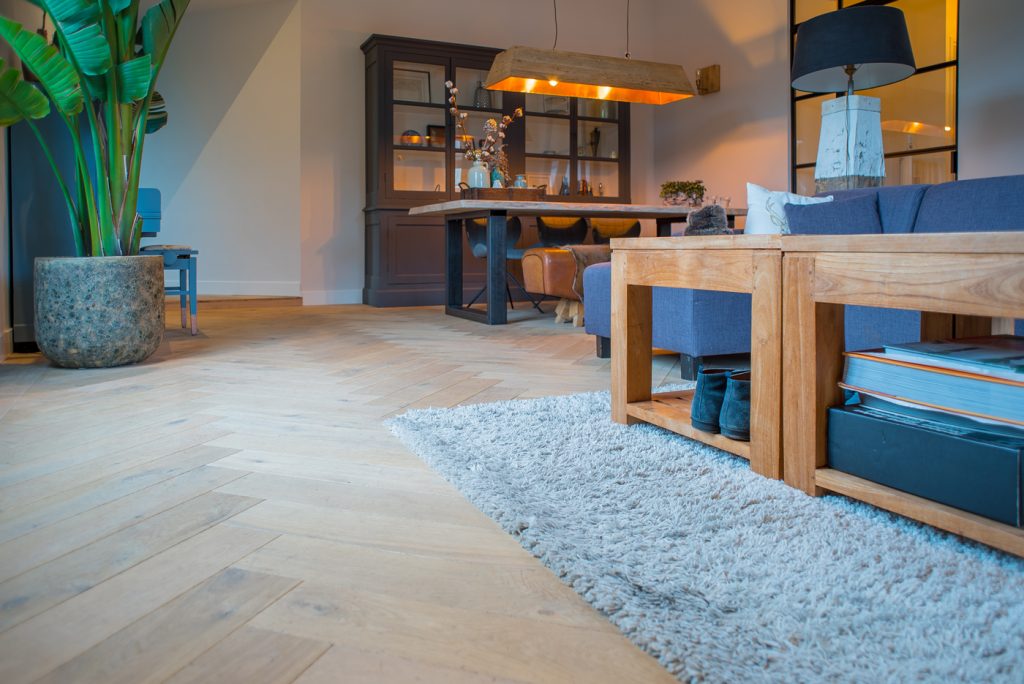
Take a look inside this newly built house and discover the beautiful end result!
Allow the wood floor to acclimate
Great preparation is key to success! Thus, it is recommended to let the floor acclimate to the room temperature for at least 48 hours before laying it. This will allow the floor to adjust to the climate of the home, significantly decreasing the chance of any movement during and after installation.
Is the surface level and flat?
Before laying the floor, check the substrate. Is the subfloor sufficiently dry, flat, and even? If not, a moisture barrier must first be applied and/or leveled. But how can you tell if the substrate is dry and level enough? The best way to measure moisture content in the substrate is with a special carbide moisture meter. For sand-cement floors, the residual moisture should not exceed 2%, dropping to 1% when combined with underfloor heating. For an anhydrite screed, this should be only 1% and combined with underfloor heating, 0.5%. As for height differences, there should be no or as few as possible height differences in the subfloor. Over a 2-meter length, there should be no more than a 2mm height difference in the subfloor. A herringbone floor, which consists of more floorboards than a straight pattern floor, creates many joints between different planks, making it particularly vulnerable to scratches. Herringbone floors are extra sensitive to height differences.
For any type of floor, a dry, level, and even surface is crucial. This ensures that the floors will not warp and that they remain tight and stable after installation. Luckily, the surface of the newly built house in this article was delivered neat and level, which is ideal. This allows our parquet installer to prepare the subfloor without the need for further leveling!
Preparing the substrate
The substrate is best prepared for optimal adhesion of the adhesive by treating it twice with a primer to make it waterproof. However, we opted to install a separate layer of vapour barrier followed by a layer of primer in this case. Why? Because newly built houses often have high residual moisture percentages. Our approach ensures optimal protection of the floor against rising dampness.
Defining herringbone pattern
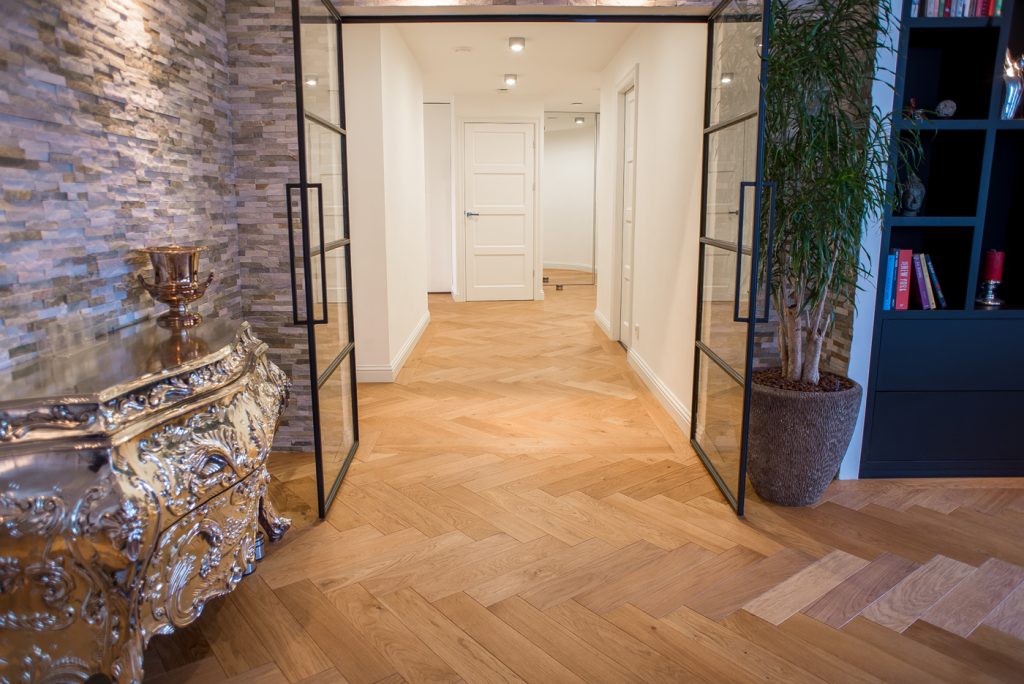
When installing a herringbone floor, it’s important to decide in advance on the pattern’s orientation: lengthwise (long strips) or widthwise (as many points as possible). Wooden herringbone floors are often laid in long strips, which was also the case in this house. This was a good choice because the lengthwise installation combined with the light at the end of the room creates a spatial effect that makes the house appear more spacious!

First, locate the points of the herringbone pattern. It is important that the pattern is straight and runs parallel to the walls of the house. In a rectangular room like this, the pattern should be parallel to the walls. However, if a room has a sloping wall, choose one wall as a starting point to lay the floor in straight herringbone strips. The parquet installer has marked a line on the surface to indicate the direction of the points of the herringbone pattern. The outer lines have also been marked for the installer to know exactly where to apply the glue.
Applying adhesive
It is now time to apply the glue to the substrate. Use a glue comb to ensure that the glue is evenly distributed on the substrate. Keep in mind that the glue has a curing time, so it is important to test a small area of the substrate before laying the entire floor. Repeat this process until the entire floor is laid.
Laying the Oak Herringbone Parquet floor
This herringbone parquet floor is made up of left and right sections that are laid alternately. It is recommended to lay the floorboards that still need to be laid on top of the first section once it has been laid. The extra weight on the floor ensures better adhesion between the substrate, glue, and boards. It is important that the floor fits well at every point to avoid gaps. If there is a gap in the floor and nothing is done about it, the gap can gradually spread throughout the pattern and often gets bigger after a few strips. Avoid gaps by laying the boards tightly together.
After laying the first half of the floor, use a scraper to remove any dried glue residue from the other side of the floor. Then, apply a new glue layer to the surface and continue laying your oak herringbone parquet floor.
Do you want some useful advice on how to install an oak herringbone parquet floor? Or are you curious about the end result? Watch the video to get the answer to the question: how to install a herringbone oak parquet floor.
Step-by-step plan: installing an Oak Herringbone Parquet
- Acclimate your oak herringbone parquet floor
- Ensure a very smooth and even surface
- Is there moisture in the substrate? If so, apply a layer of vapour barrier
- If the substrate is not level or has a height difference of more than 2mm, you need to level it before laying the herringbone oak parquet
- Apply 1 or 2 layers of primer (depending on the presence of a moisture barrier)
- Decide how to lay the herringbone pattern
- Apply guidelines to ensure that your oak herringbone floor is straight
- Apply adhesive to the substrate using a glue comb
- When laying the floor, alternate between the left and right sections
- Ensure that you connect each point thoroughly and establish tight links between them all
- To prevent the gaps, have your floor sanded and finished after installation
You can find more useful flooring videos on our YouTube channel. Follow Floer to stay up to date! Would you like to see more of the untreated oiled oak herringbone parquet floor, or order a sample to discover it for yourself? If you are interested in a herringbone floor but do not know where to start, check out our 4 tips for choosing a herringbone floor.
Are you still hesitant about doing it yourself? We understand that it can be a complex job. You can easily order an installation service through your nearest dealer. If you have any questions, please don’t hesitate to contact us. Want to read more blogs? Wondering which floor is suitable for underfloor heating or want to know how to maintain and clean your floor? Check out all of Floer floors. Here you’ll find not only herringbone floors but also floors such as Oak Parquet – Brushed & Grey Oiled.