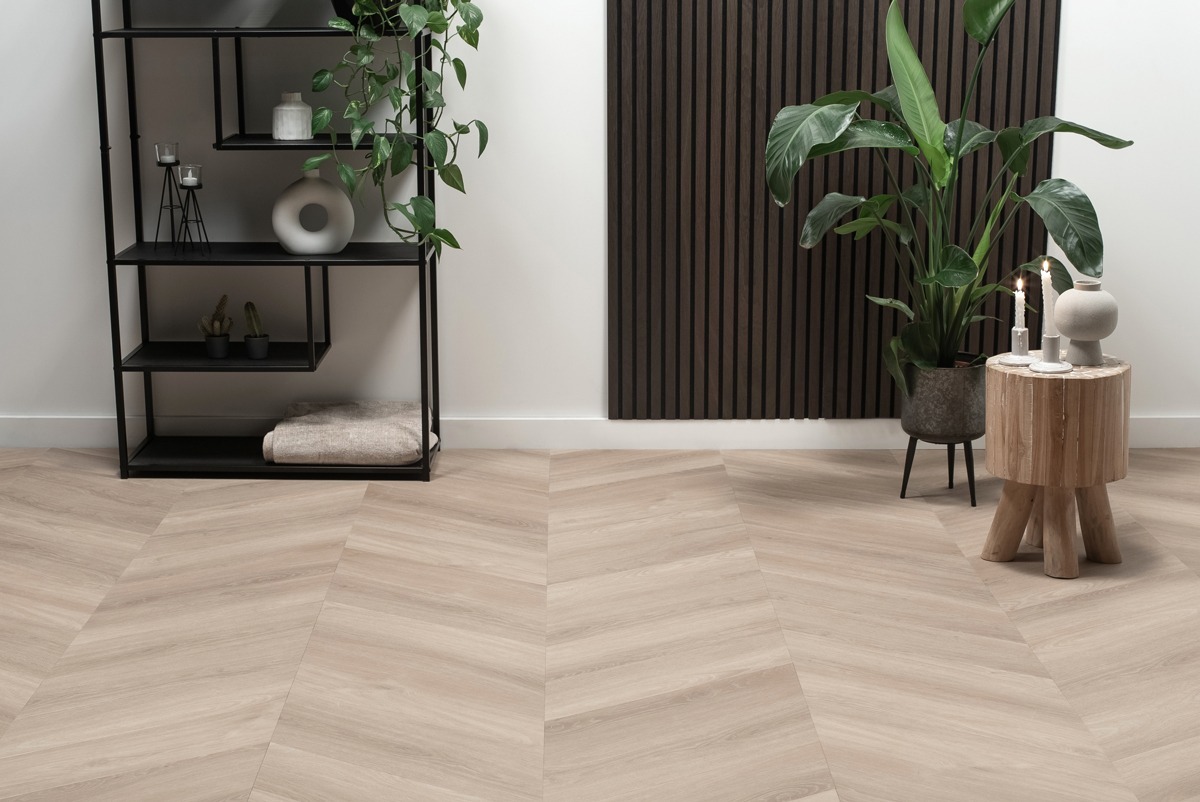
You’ve been enjoying your beautiful floor in the house for a while and suddenly you notice those unwanted gaps and seams in your dryback Vinyl floor. While it is not a life-threatening situation, it is certainly annoying, we understand that. After all, you want your floor to always shine and blend in seamlessly with the rest of your home. But how do these gaps and seams actually get into a dryback Vinyl floor? Don’t panic! In this blog, we’ll take you through the contributing factors, how to prevent them and, perhaps more importantly, how to repair them once the damage has been done. Find out how you can restore your beautiful floor to its full glory!
Acclimatising the floor
The most common cause of gaps and seams in a dryback Vinyl floor is the failure to acclimatise the floor or acclimatising it incorrectly. It is often mistakenly thought that only wooden floors ‘work’, but the same applies to your Herringbone or Country House Vinyl floor. It needs at least 48 hours to acclimatise in the room where it will be laid. But why do I need to acclimatise a floor? The floor is subject to various temperature changes, for example, during transport. It is also necessary to acclimatise to the conditions in order to maintain the correct sizing. In simple terms, this means allowing the floor to adapt to the environment. To achieve the best possible bonding and end result, it is important to acclimatise not only the floorboards but also the necessary materials such as levelling compound and Vinyl adhesive. So, don’t underestimate the acclimatisation!
Using underfloor heating
Summer and winter time difference
Perhaps your floor was laid during a period of intense summer heat. But when winter sets in and the temperatures drop significantly, the underfloor heating may start to work. As they have become ‘used’ to the extremely warm conditions, the boards of the floor will react to the change in temperature. You can already guess, this can lead to cracking. Keeping the indoor temperature as constant as possible is key to maintaining the appearance of your Village Vinyl floor.
Fixing cracks and seams
We understand how annoying it is to suffer from cracks and seams. The quickest and easiest solution is to fill the cracks. At first, it may sound a little intimidating to fill the gaps in your Vinyl floor with a paste yourself. But actually it’s not so bad; it’s just a matter of filling them with a paste. There are different colours of filling pastes available, but you will rarely find one that exactly matches the colour of your floor. To arrive at the desired colour, you need to mix several colours. To make the process even easier, we put together the following instructions just for you 😉:
- Preparing the floor
Before sealing the cracks and seams of the floor, clean the entire floor. Make sure the floor is free of dirt and dust and wipe it with a mop containing Vinyl cleaner. - Mixing the filling paste
After cleaning the floor, you can start mixing the pastes. Mix the colours until you reach the desired colour. - Filling the cracks and seams
Once the pastes are mixed, apply them to the cracks. For that, you can easily use a spatula or putty knife to do this. Make sure that the paste is applied evenly into the cracks and seams of the floor, leaving no gaps or bumps. - Cleaning the floor
Finally, wipe the cracks with a damp cloth to remove residues of the filling paste. Remember to clean the cloth regularly, as you don’t want to wipe the rest of the sealed gaps with a dirty cloth.
Conclusion
Once you have fulfilled the steps above, the floor will look seamless again. You can clean the floor as before with a Vinyl cleaner. If the cracks are so large that you cannot get a good result with a filling paste, we recommend that you call in a specialist for repair.
In conclusion, Vinyl is a product that can easily react to temperature changes. Therefore, it is important to make the right preparations before laying your Vinyl floor. The most ideal is to keep the temperature in the house as constant as possible. If you do happen to have a few cracks in your floor, they can be very easily filled with a filling paste!