Installing an Akupanel Wall Panel horizontally? Absolutely, you read that right! While acoustic wall panels are typically installed vertically, in this blog we explain how to install Akupanels horizontally. Additionally, we have created a helpful FloerTube video specifically for you, which makes the process a breeze. By following the steps laid out in this video and blog, you’ll be expanding your horizons in no time 😉.
Positioning the Wall Panels
Once you have selected your desired wall panels, it is essential to determine their positioning. You can either cover the entire wall with Akupanels or specific parts of a wall. The XL Akupanel Wall Panels are extra-large, measuring 300 cm in length, allowing you to horizontally cover a large part of the wall. If you want to cover the entire length of the wall, measure the distance between the floor and ceiling first. Once you know the length, divide it by the width of the wall panels, which is 60cm. Although the result may not be exact, it is not an issue. In this blog, we will show you how to cut the panel to the right size.
Acoustic wall panels offer more benefits than just improving room acoustics. If you’re curious about the advantages of acoustic panels, take a look at our blog on “The Benefits of Wall Panels in the Home”.
Customizing the Acoustic Wall Panel
After determining the position, cut the wall panels to size. If you want to fit the whole panel, only cut the long sides of the wall panels to size. If you encounter an oak batten in the middle, use a handsaw or circular saw to cut it to size. This applies to both the oak Akupanels and the linoleum Akupanels. If you encounter felt, simply cut through it with a Stanley knife.
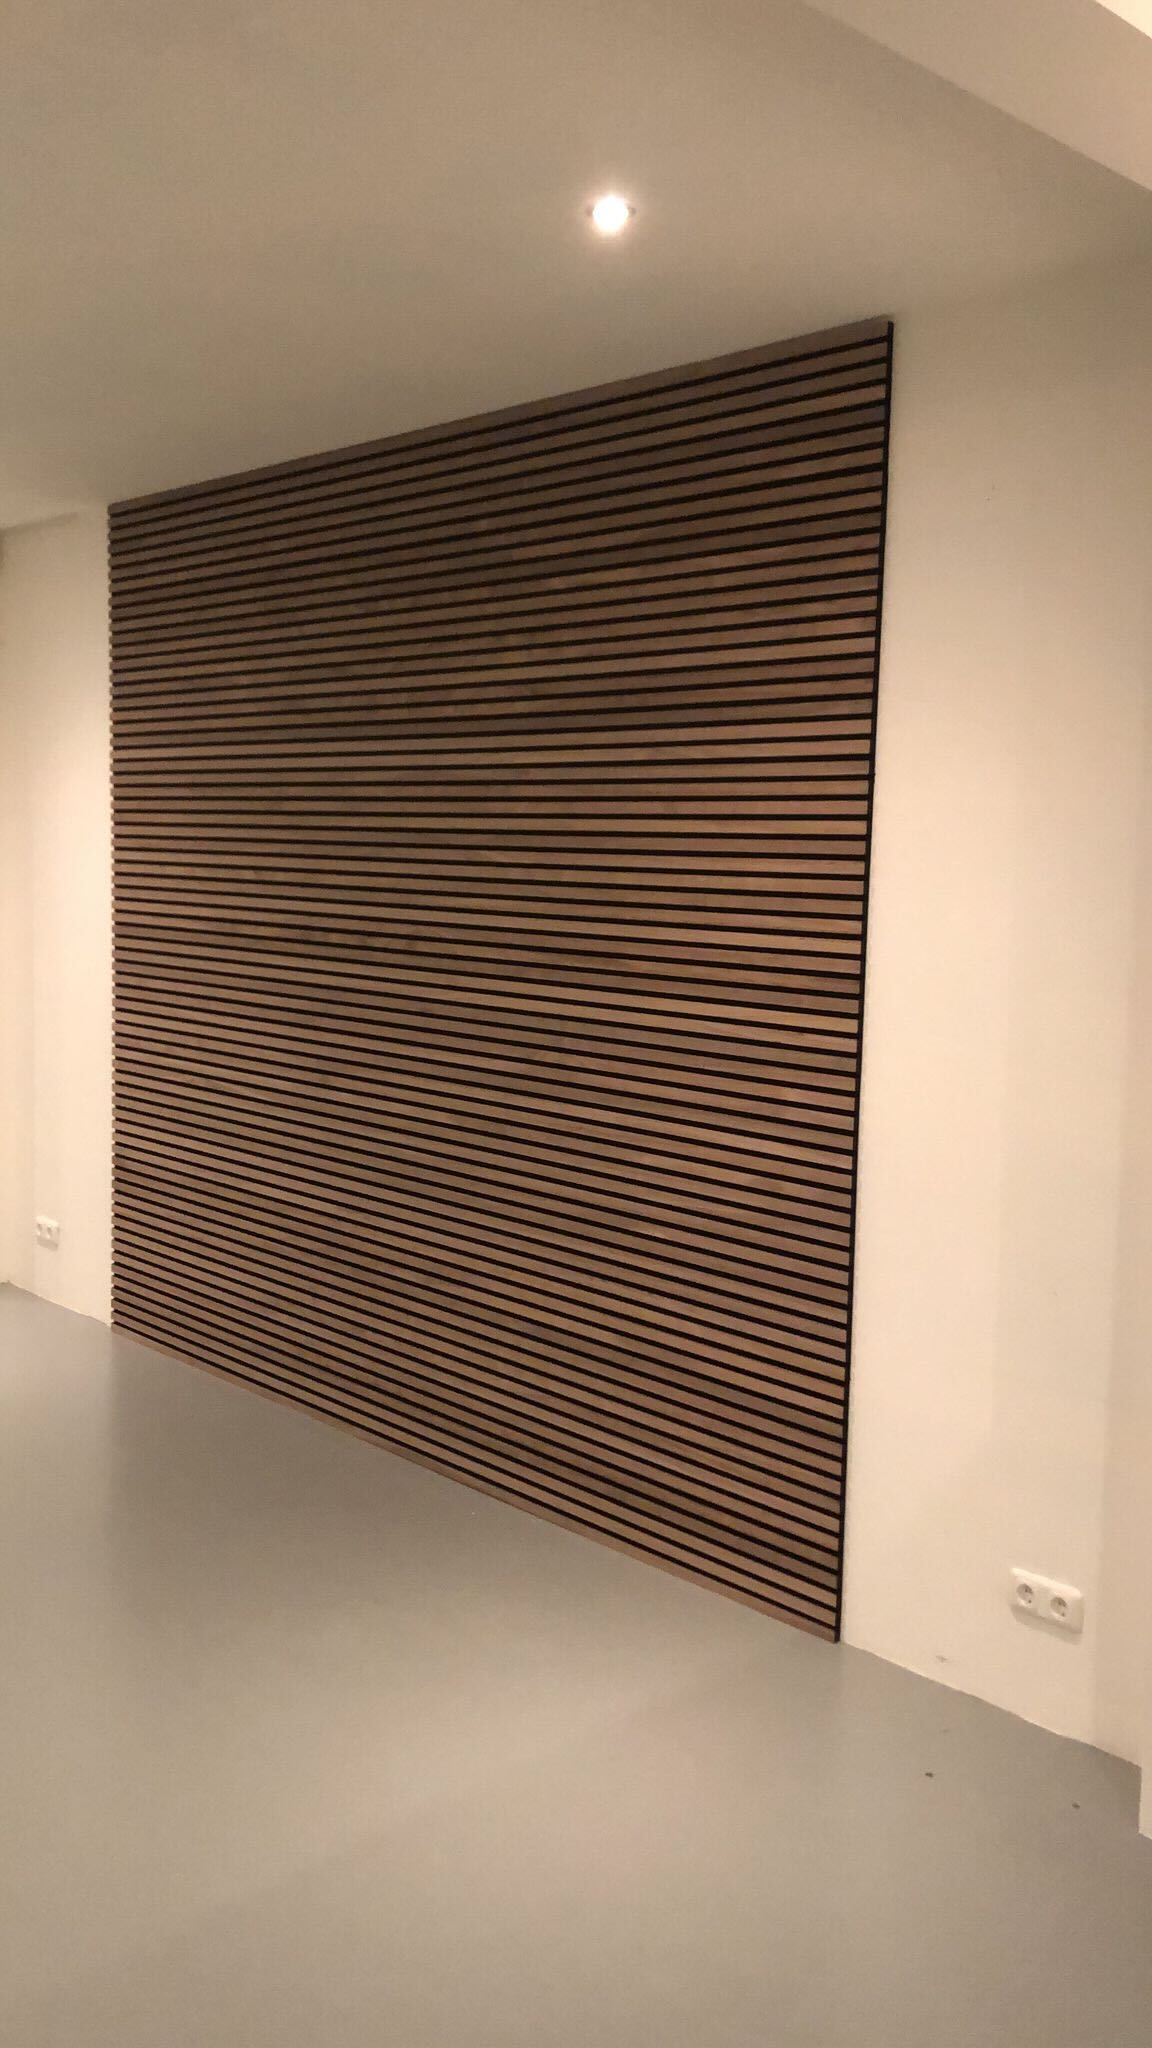
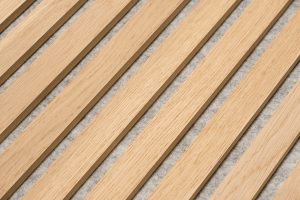
Are you curious about the wall panel shown in this video? You can see the Floer Akupanel XL Wall Panel in Light Brown Walnut. Order a sample today and experience the beauty of the Akupanel for yourself!
Remember to fit with the spirit level
After all, you don’t want your wall panels to look crooked once you’ve installed them. Even if your house appears perfectly straight to the eye, the floor may slope away from the wall. Therefore, it’s important to ensure that the wall panels are placed straight. You can do this by using a spirit level. Once you’ve confirmed this, you can proceed to attach the wall panels.
Attaching the Wall Panels
Before installing the wall panels, make sure to clean the surface and remove any unevenness, such as protruding screws. Once these tasks are completed, you can fix the Akupanel using High Tack Adhesive sealant or screws. When mounting with sealant, press the wall panels firmly against the wall to ensure they cannot be detached. Alternatively, installing the Akupanel with screws is also straightforward. For detailed instructions, check out our blog post “Installing Floer Akupanel XL Wall Panel” and get inspired!