How to lay Whalebone Laminate?
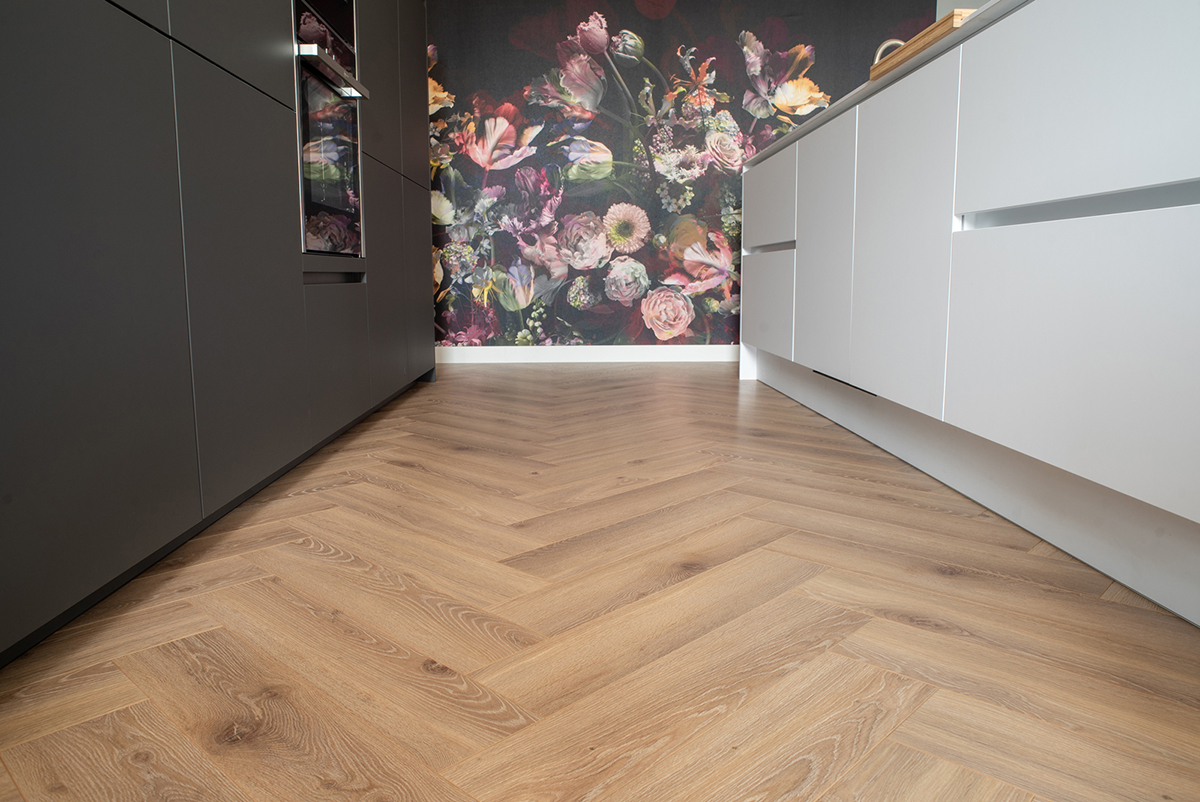
Recently, we added a new floor to our range – the Whalebone Laminate! If you’re interested in this floor (and we totally understand why), it’s important to know how to lay it. To make this process as easy as possible, we have created a FloerTube video just for you. In this video, we explain step by step how to lay the Whalebone Laminate. We’ve also written this blog for your convenience. After watching the video and reading the step-by-step guide, you’ll be fully prepared to lay your own Whalebone Laminate floor!
Step 1: Acclimatisation of the floorboards
Before installation, it is crucial to acclimate the floorboards to the room. This process is also known as acclimatisation. Acclimatisation enables the floorboards to adjust to the indoor climate of your home. But how long does it take to acclimate? We recommend allowing the floorboards to acclimate for at least 48 hours. To do so, lay the floor packs in a hashtag (#) pattern on top of each other inside the room where the flooring will be installed. If you want to learn more about acclimatising floors, check out the Floer blog post titled “Why is acclimatisation important for flooring?“.
Step 2: Levelling (if necessary)
You read it correctly, “if necessary” levelling. Normally, a subfloor does not need to be levelled if a laminate floor with a subfloor is installed on it. However, if your floor looks like it has just been hit by an atomic bomb, it is still advisable to level it. The amount of unevenness allowed in the subfloor varies per subfloor. For example, if you use the Floer Non-Contact Underlay, like Guido, you should allow for a maximum unevenness of 1.1 mm. If there is paint or glue residue on your subfloor, you can easily remove it with a putty knife to level the subfloor.
Step 3: Make sure you have everything you need
The saying ‘good preparation is half the battle’ rings true when it comes to laying an XL herringbone laminate floor. It is vital to ensure that you have all the necessary items before you begin. Below is a ‘shopping list’ that contains everything you will need.
- Marking tool
- Spacer
- Stanley knife
- Teflon tapping block
- Rubber hammer
- Jigsaw
- Cut-off saw
- Suitable underlay
- Good hoover
Step 4: Remove dust and dirt from the substrate
To ensure the surface is free of dirt and dust, we recommend using a vacuum with sufficient suction power. If possible, an industrial vacuum is preferable. If not, a regular vacuum will also work, but check that it has sufficient suction.
Step 5: Lay the underlay
Once you’ve cleaned the subfloor of dust and dirt, it’s time to move on to the next step: installing the subfloor. As mentioned earlier, the FloerTube video uses Non-Contact Underlay to prevent the floorboards from lying directly on the substrate. If they do, the planks could become damaged and the floor wouldn’t stay in place properly. The Floer underlay also reduces impact sound, giving you a softer, more solid walking sound. Additionally, the underlay is finished with an adhesive strip that protects your floor from moisture. While there are several underlays suitable for use with laminate floors, you’re not obligated to use the Non-Contact Underlay. When purchasing your floor, ask for the best underlay for your situation.
Step 6: Starting points
When installing XL herringbone laminate flooring, it is important to use a starter point. Fortunately, a starter point is included with every Whalebone Laminate floor to make the process easier for you. Using the included starting point, you can create the additional required starting points. You will need a total of six herringbone planks. Unlike traditional herringbone laminate flooring, the XL herringbone floor does not have left and right planks. Therefore, you can lay the planks in any order. Keep in mind that the long side that touches the ground should be facing forward. This will make it easier to handle the floor during installation.
Fasten the boards together using the Teflon stop block. Once the six boards are attached to each other, lay the starting point on top and start marking off. Draw lines on the new starting point and sew off the remaining part with the cross-cut saw. Ensure that you have enough starter points until no more points fit. When you have enough points, attach them together using one board.
Step 7: Start laying the Whalebone Laminate
First, put the spacers in place, and then start laying the Whalebone Laminate floor. Since the floorboards do not have a left or right side, you can choose your own laying method. In the video, Guido lays one straight plank in the middle and then attaches planks to its left and right sides. Continue laying the planks up to the wall, keeping a minimum distance of 1 cm between the floor and the wall. Save the sawn-off boards, as you will still need some of these to finish the floor.
Step 8: Relax, take it easy!
Congratulations! You now have the knowledge to lay a Whalebone Laminate floor on your own! With the new floor in place, you can finally enjoy your space! In addition to this blog and FloerTube video tutorial, there are plenty of others you can read and watch. For example, discover how to lay a Herringbone Vinyl floor on your own. Then, when you need a new floor again in the future, you’ll already know how to do it. But for now, go ahead and enjoy your new Whalebone Laminate floor! 😉.

