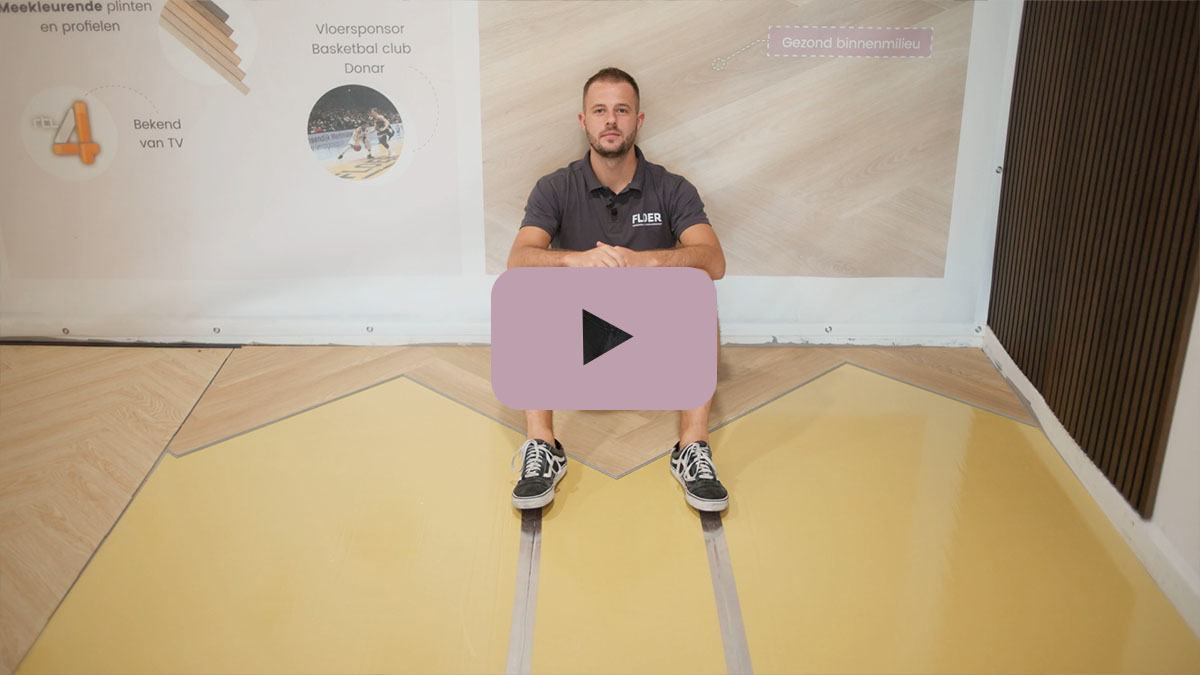
How to make a Whalebone Rigid Click Vinyl starter? In FloerTube video episode #32, our Guido shows you how to lay a Whalebone Rigid Click Vinyl floor. Ideal, because that way you know exactly what to do! In addition to this video being full of useful tips & tricks, Guido also gives you an A-to-Z explanation of how to make a starter point for Whalebone Rigid Click Vinyl flooring. Of course, a good start is half the battle, and you don’t want to do half the job. After watching this video, you’ll know exactly how to make a Whalebone Rigid Click Vinyl starter point and you’ll be off to a great start!
Notice!
In this tutorial and video, we show how to make a starter point only for Herringbone Rigid Click Vinyl flooring. The method may differ for other floors, such as Herringbone Rigid Click Vinyl and Whalebone Laminate.
Supplies
As has been said before, a good start is half the battle, which is why it is essential to have the right tools before starting a job. To make a starter point, you will need the following tools: a rubber mallet, pencil, stop block, Rigid Click Vinyl cutter (or jigsaw), the Whalebone Rigid Click Vinyl floor itself, and of course, safety comes first. Therefore, don’t forget to wear knee pads when laying the floor or making a Whalebone Rigid Click Vinyl starter point.
Acclimating Rigid Click Vinyl
While it may go without saying, it is crucial to emphasize that you allow the flooring boards to acclimate first. Make sure the floor has been acclimated for at least 48 hours in the room where it will be installed. This ensures consistent sizing of the floorboards. Despite the temptation to begin making starter points while the rest of the floorboards acclimate, we recommend you be patient. We understand that you want to enjoy your new XL herringbone floor as soon as possible, but waiting 48 hours is worth it for optimal results.
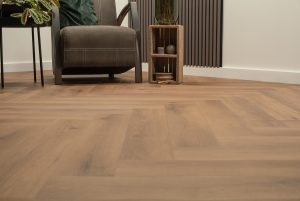
Starter point
Whalebone Rigid Click Vinyl flooring consists of both left and right sections, identified by the click connection and marking on the back (A & B). For a starter point, you need 3 (A) planks and 3 (B) planks. You click these six planks together to form a point. Once you have assembled the six planks into a point, it is time to size it. Take the first point of board (A) and cut it at a 45-degree angle to board (B). A handy tip from Guido: use an extra (B) board, snap it to the point, and draw a line from the right corner to the left corner. Now all that remains is to cut the starting point to size, this can be done with either a Vinyl cutter or a saw.
Could you use another tip?
Trust is good, but checking is better. Perhaps in this case it is important to check that no mistake was made. Both sides of the starting point should be the same length as a full board. So take an extra plank and hold it next to both sides to check that they are exactly the same length. If they are, then your starting point is good!

Calculate number of points
It is more efficient and easier to make several starting points right away. But how many starter points do I need? That is very easy to calculate. Measure the width of the room to be laid and divide it by the width of your custom-made Whalebone Rigid Click Vinyl starter point. For example, if your room is 570 cm wide and your starter point is 127 cm wide, you will end up with 4.48 starter points. Do not round the number up, so in this case you will need 4 full starter points.
Whalebone Rigid Click Vinyl Starter Point Installation.
If you have followed the above steps, one more task remains to put a dot😉. You can now place the starter points side by side in the area and then connect them to the rest of the floorboards. From here you can continue laying the floor lengthwise using the zigzag method. Now you are ready to get started laying DIY XL Herringbone flooring yourself!