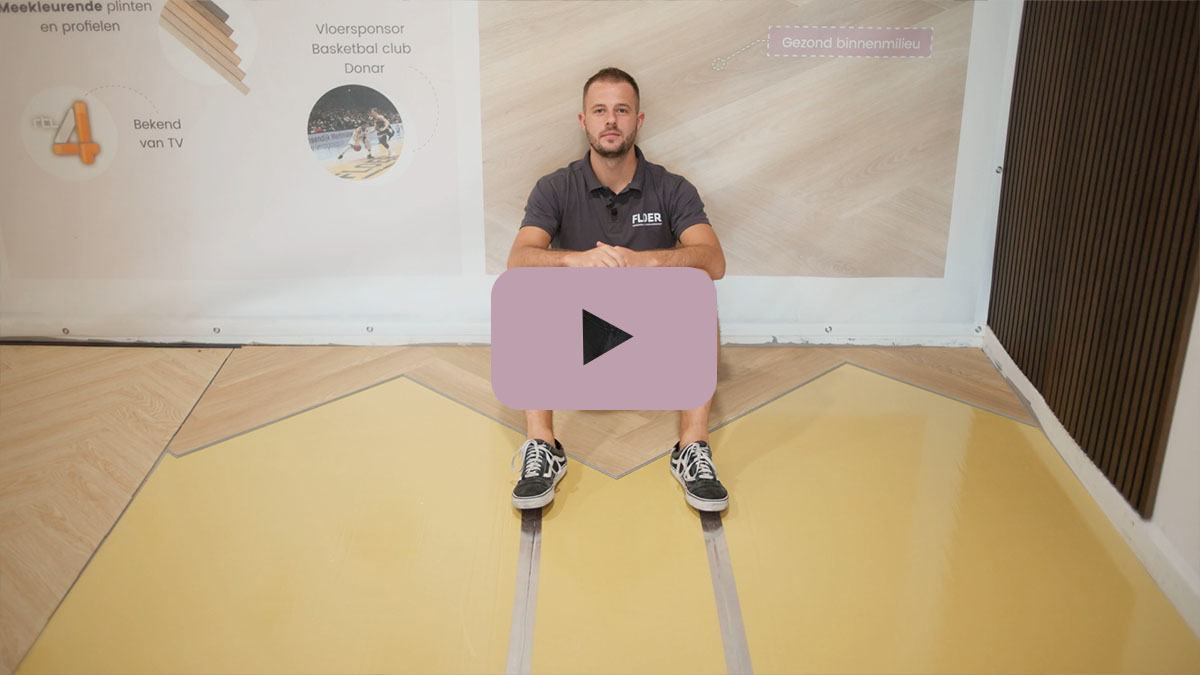
Looking to give your unique floor a beautiful finish? High skirting boards can add the perfect touch to complete the picture. In this blog, accompanied by a handy FloerTube video, you’ll discover all the steps needed to fit high skirting boards for the best result. Click on the FloerTube video below, where Guido explains in detail how to fix a high skirting board and what materials you’ll need.
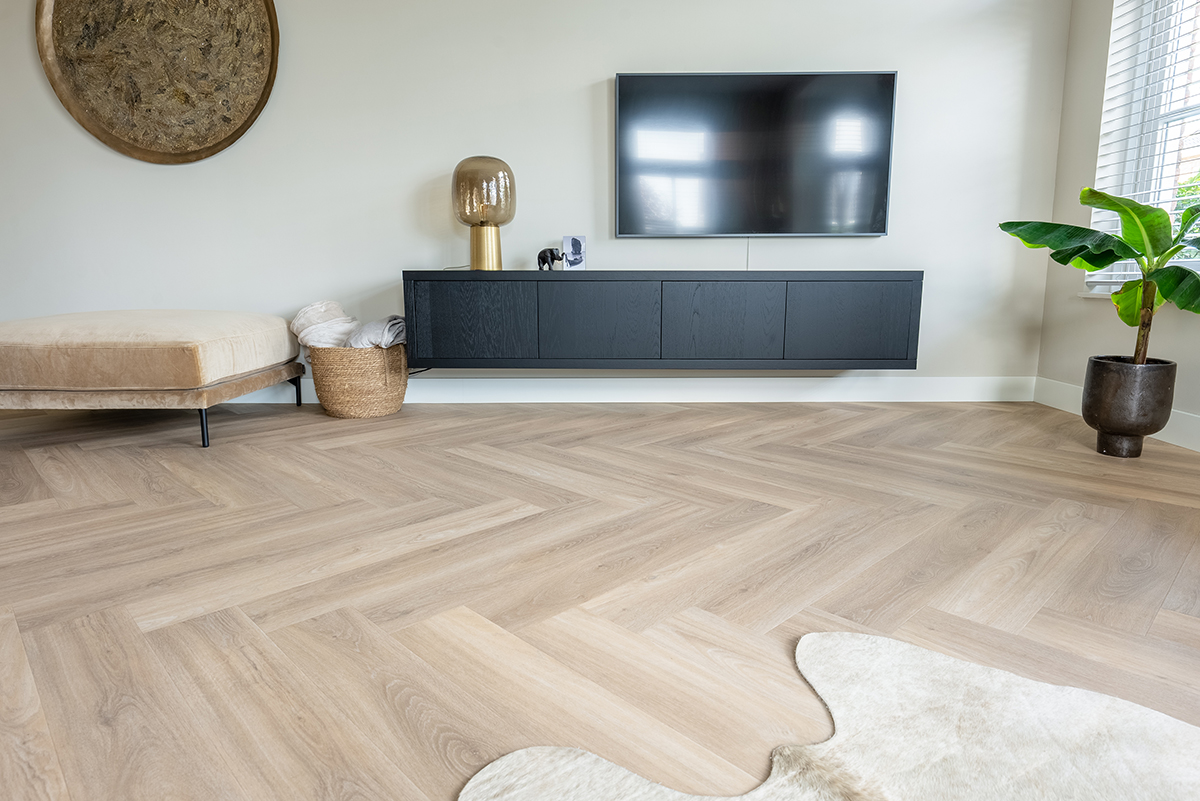
High skirting boards
Floer offers high skirting boards in different heights and thicknesses, providing you with the flexibility to choose what suits your home best. This way, you can give your interior a stylish look. The height of a skirting board can play a role in the atmosphere of every interior, while the degree to which it is present can influence the overall feel. You can also choose to lay a vinyl floor without skirting if you prefer.
High skirting boards installation
If you are planning on installing high skirting boards yourself and are curious about what you will need to do so, below is the Floer shopping list for “how to fix high skirting boards”!
- Floer MDF Skirting Board
- Sealant gun
- Floer High Adhesive Sealant
- Pencil
- Tape measure or folding ruler
- Miter saw or jigsaw
- Floer Acrylic Sealant
Step 1: Determine the amount you need
Before applying the adhesive sealant, measure how many lengths of skirting board you will need. This will prevent you from having to cut a skirting board after it has already been mounted on the wall. Use a tape measure or folding ruler and a pencil to mark the section you need. Then use a saw to cut off the required section.
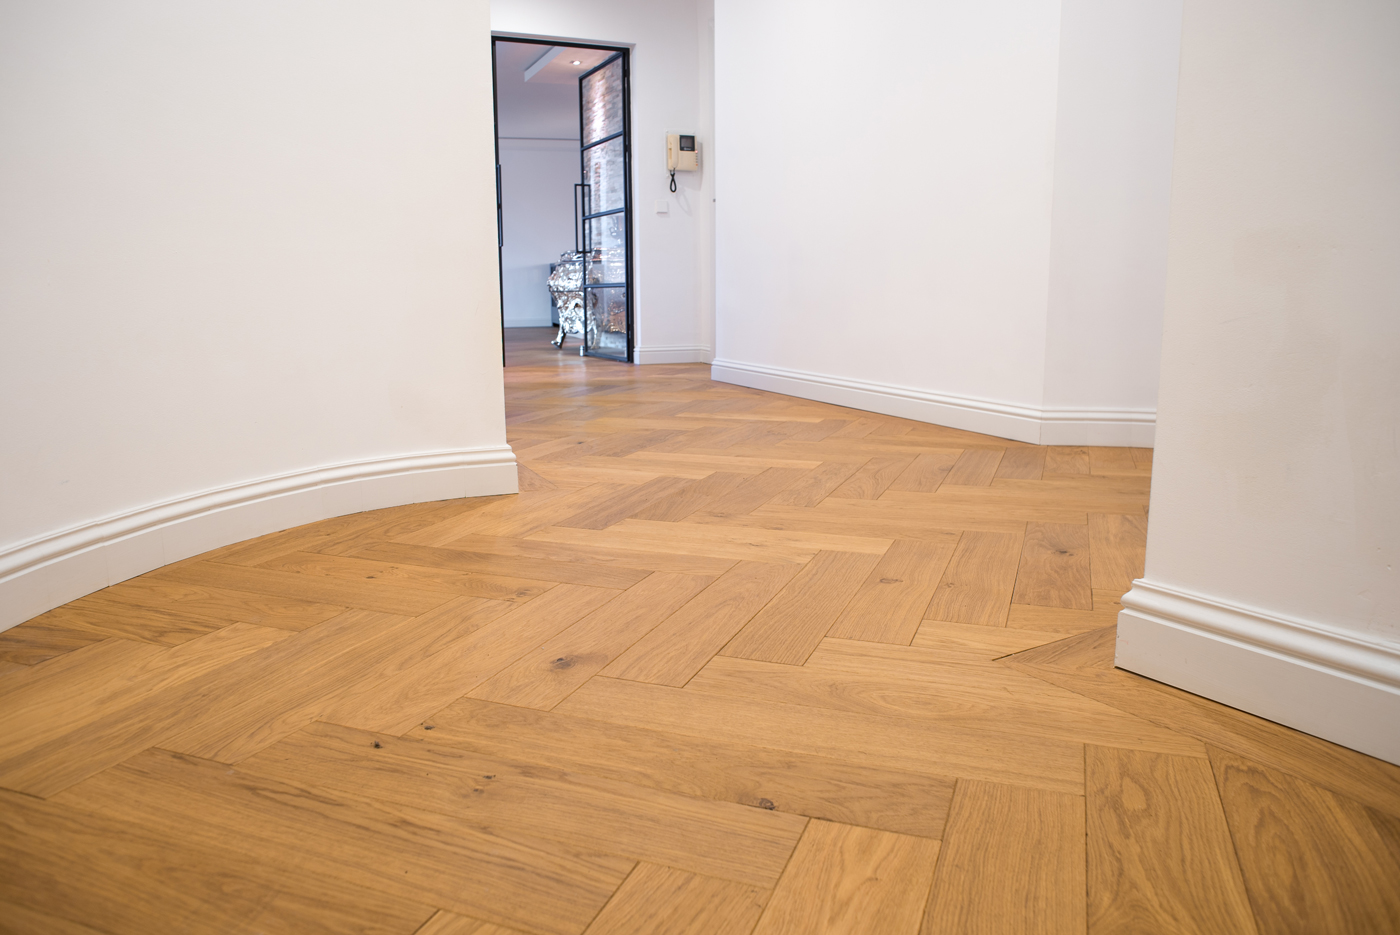
Step 2: Applying adhesive sealant
To ensure optimal adhesion between the wall and the skirting board, use the Floer High Adhesive Sealant Kit when fitting the skirting boards. Apply the mounting sealant to the back of the skirting board gradually and in a rocking motion, rather than in a straight line. This will help ensure that the skirting board is securely fixed in the center and at the top and bottom. Avoid applying too much sealant, as it may run along all the edges and require removal from your oak parquet floor. Once you have applied the sealant, attach the skirting board to the wall and proceed to the next step.
Step 3: Attachment
Now that you have spread the adhesive sealant over the skirting board, you can attach it to the wall. Press the skirting board firmly against the wall, ensuring a tight fit. Be mindful of the curing time of the sealant as it will not remain flexible indefinitely. Additionally, note that not every wall is perfectly straight, so there may be a small gap between the skirting board and the wall. These gaps can be sealed by a painter and painted together with the skirting board for a smooth and polished finish.
Floer tip!
Do you have a sliding door in your house that cannot be fitted with a high skirting board? If so, vinyl flooring can help you lay the boards tightly against the sliding door and seal the small gaps. However, if you have a click connection floor, you will always leave a small gap between the floor and the sliding door. To eliminate this gap, you can use an additional colored skirting board. An adhesive skirting board can be easily sawn or cut to size and then fixed with the handy adhesive strip on the underside of the skirting board.
Step 4: Sawing & measuring
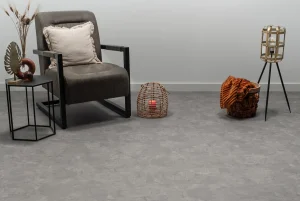
If you plan to install skirting on an outside corner, saw the skirting board at a 45-degree angle. You can use a saw template or a sawing machine that can be adjusted to a 45-degree angle. As with installing normally sawn skirting boards, apply an adhesive sealant to the outer corners with a rocking motion. Be precise and measure carefully to ensure you have enough skirting to avoid gaps between boards. Skirting boards can be fitted to all kinds of floors. For example, in the photo on the right, you can see how a skirting board looks with a Tile Vinyl floor.
High skirting boards in inside corners can be placed directly on top of each other without having to cut them at a miter. This means that you can simply place the skirting boards straight on top of each other. If your home still has existing baseboards, don’t worry! There are also Renovation Overlay High Skirting Boards available that can be placed over the existing skirting board.

That’s it!
Good news! The skirting boards have been successfully installed. The painter now needs to seal and paint them for a polished finish. If you’re interested in learning how to install high-skirting boards like a professional, then be sure to check out our other FloerTube videos and blogs for more tips and tricks. Discover a variety of ways to finish a floor, including using skirting boards, wall skirting boards, rosettes, and more.

