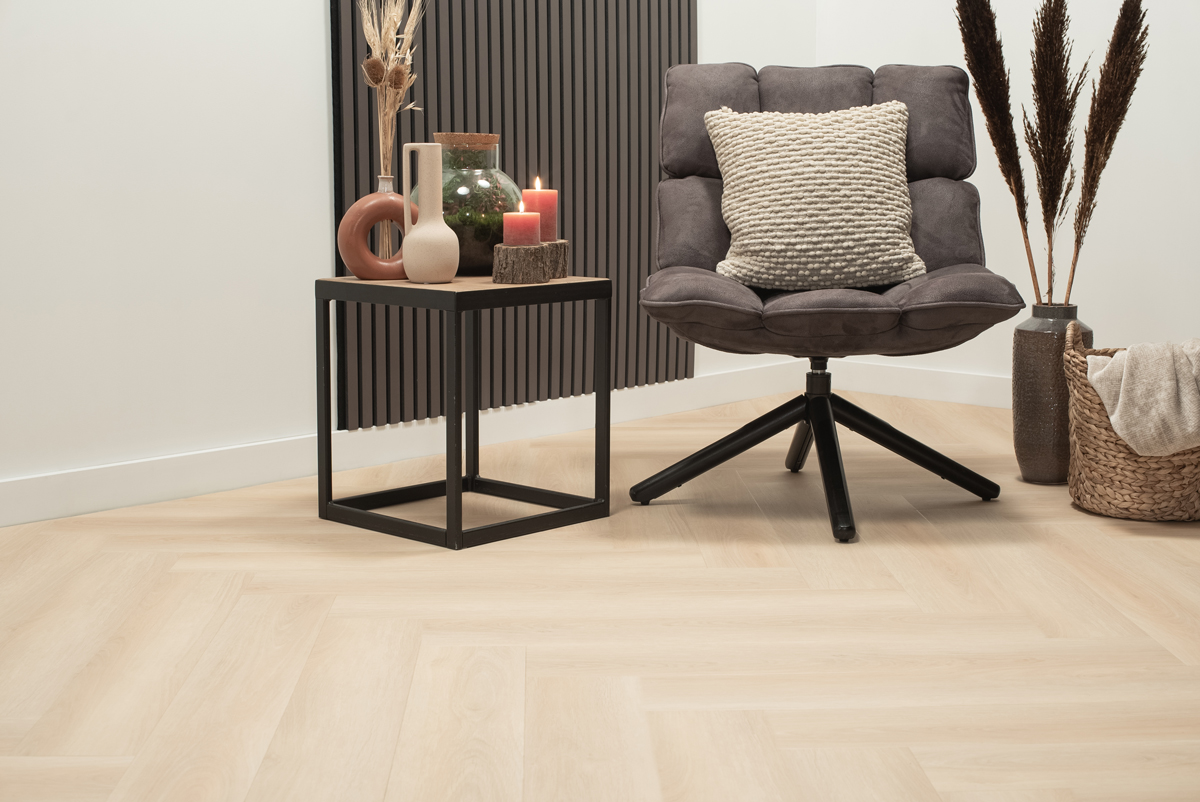
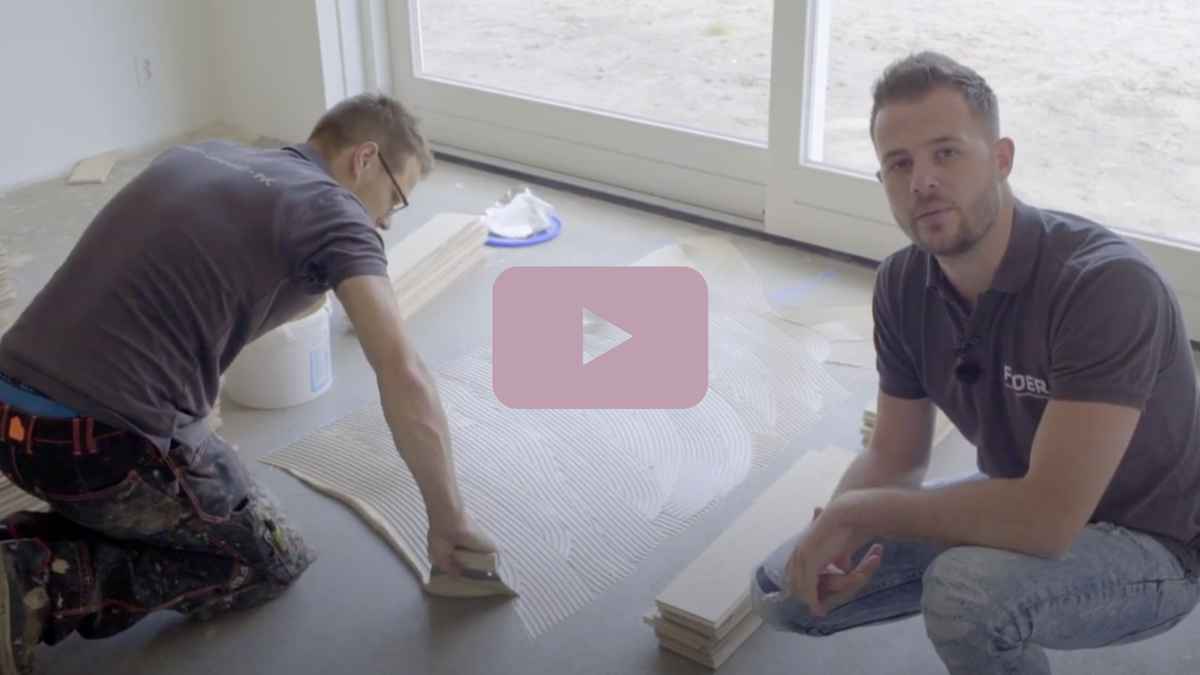
We recently launched the Whalebone Click Vinyl flooring, but now of course it is important for anyone interested in this beautiful DIY floor (and we fully understand that interest) to know how to install it. To make it as easy as possible, we have recorded a FloerTube video especially for you, explaining step by step how to install Whalebone Click Vinyl flooring. Watch the FloerTube video and read the step-by-step plan to prepare yourself as well as possible. With the knowledge you’ll soon have gained, you’ll be in a strong position to accurately install your custom-made Whalebone floor!
How do I install a Whalebone Click Vinyl floor?
Whalebone Click Vinyl Acclimatisation
We understand that you want to install the floor as soon as possible, but some preparation is necessary. The floorboards should acclimatise for at least 48 hours in the room where they will eventually be installed. Make sure the floorboards are installed in (#) bond during the acclimatisation process. By allowing the Whalebone Click Vinyl floor to acclimatise, the boards get used to the temperature and climate of the room.
Checking the subfloor
Before the subfloor can be installed, it is important to check the ground floor. After all, the floor has to be level, flat, dirt- and dust-free. You can also use a putty knife to smooth away any unevenness. Then take a hoover to pick up all the dirt and dust.
Tools for installation
To do the job properly, it is of course essential to have the right tools.
- Spacers (contents Floer legset)
- Hoover
- Rubber hammer
- Knee pads
- Pencil
- Laying block (contents Flooring set)
- Ruler
- Floer Alutape
- Stanley knife
- Vinyl cutter (or jigsaw)
- Rigid Click Vinyl underlay
- Skilled fitter
And a 48-hour acclimatised Whalebone Click Vinyl floor. Without a floor, installing it becomes a challenge, similar to decorating a Christmas tree without a spike; of course, you can’t do that either.
Installing underlay Whalebone Click Vinyl
Have you properly inspected and prepared the subfloor? Then it’s time to lay the underlay. It is important that you use the Rigid Click Vinyl subfloor, which has been specially developed for Whalebone Click Vinyl floors. With a compressive strength of 400 KpA, this underlay provides enough strength so that heavy floorboards have sufficient resistance and the click connection remains protected and supported. Watch Floertube #17 to see how to lay this underlay.
Creating starter points
Before you enthusiastically start installing the Whalebone Click Vinyl, it is essential to create a starter point. You do this by clicking together 3 left and 3 right planks. Next, mark off the full plank length on both sides. Then draw a line from point to point and you can cut the planks to size. Before you can install the full floor, you need to calculate how many starter points you will need. To do this, divide the width of the room by the width of the starter point, that way you will know how many you need. Don’t throw away the leftover pieces, as you can join them together to create a point that you can use for the end of the floor!
How do you cut the floorboards to size?
Cutting the floorboards to size, for example for the window frame or along the wall, can be done with a Vinyl cutter. Should you not have this at your disposal, you can also cut it to size with a jigsaw with fine teeth.
Installing Whalebone Click Vinyl
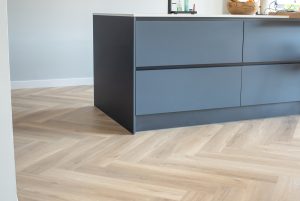
After determining the number of starter boards needed, it’s time to connect them together. Use a few extra planks to attach them together. Once this is completed, you can make metres and continue installing the Whalebone Click Vinyl floor. There is only one way to do this: the zigzag method. With this you install the floor from left to right, because you are dealing with both left and right floorboards.
Make sure you seal the boards properly during installing by gently tapping the ends with a rubber mallet. We understand that you want your beautiful whale flooring in your home quickly, but be careful not to tap it together with full force. When you approach the end, you still have end points to be placed. You can simply lay these to the left and right of where they should be, mark them off, cut them to size, and then you can click them together. That way the floor lies like a cast.”
Finishing and maintenance
Now your beautiful floor graces the room, and then we come back to the peak of the Christmas tree. After all, the floor still needs to be finished with edging; go for a modern MDF skirting, for example. Moreover, it is essential to maintain your Whalebone floor properly. Fortunately, these floors are very low-maintenance! Want more information on cleaning and maintaining your floor? Then don’t forget to take a look at ‘Cleaning and maintaining your floor’.