Are you wondering how to lay straight Dryback Vinyl? Look no further than this blog, complete with a helpful FloerTube video. Follow the step-by-step guide to lay a bonded vinyl floor. But first, a word of caution: although the video and instructions make the process seem easy, it can be tricky. If you’re up for the challenge of laying this beautiful floor yourself, read on and watch the video!
Dryback Vinyl flooring
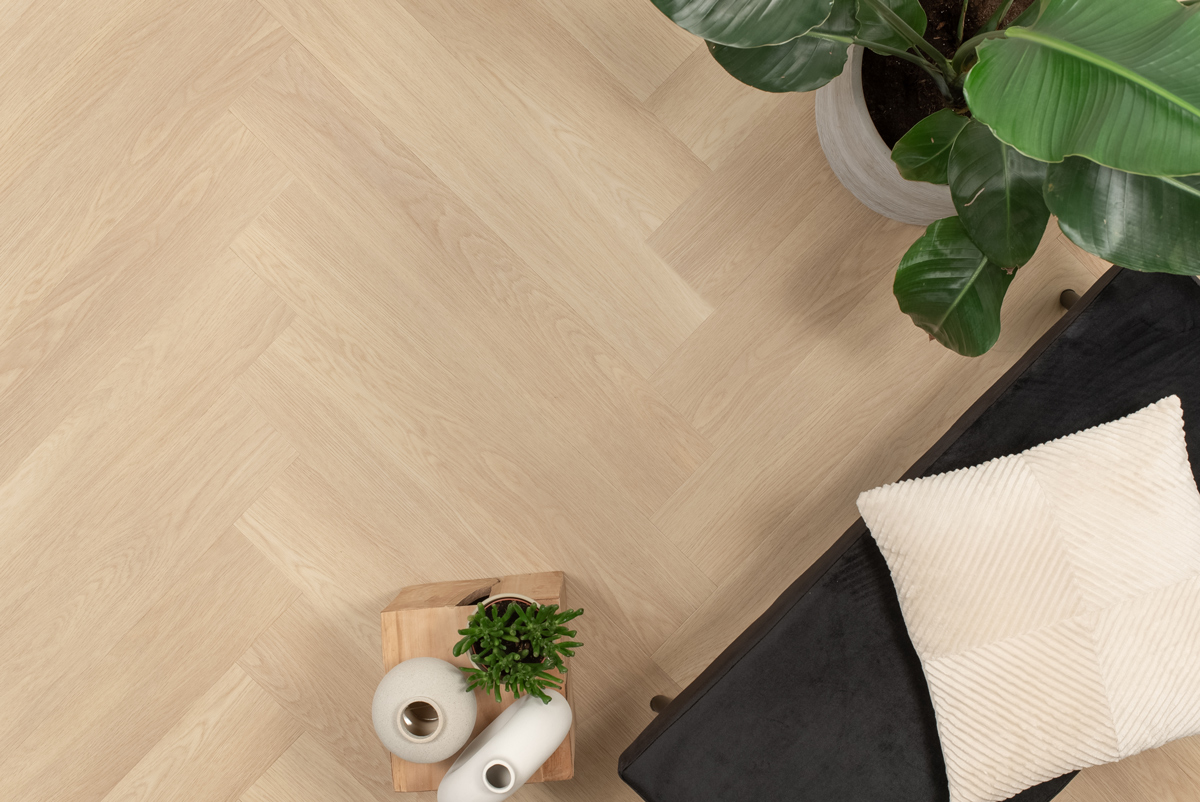
Dryback Vinyl floors are becoming increasingly popular and for good reason! They are durable, easy to maintain, and the material’s versatility means you have many options. Straight dryback vinyl floors are available in standard planks, as well as wider vinyl flooring. Dryback vinyl floors can be installed in various patterns and can even be used as stair treads. The planks are flexible and easy to cut to size, ensuring a perfect fit.
How to lay Dryback Vinyl?
In this blog post, along with the accompanying FloerTube video above, you will discover how to install a Dryback Vinyl floor. If you have chosen a Herringbone Vinyl or Whalebone Vinyl floor and want to learn how to lay it, don’t worry, we’ve got you covered! Check out our extensive blog post titled “How to Lay Herringbone Vinyl” and watch the accompanying FloerTube video to learn the exact steps to lay this floor on your own.
Laying a dryback vinyl floor is a complex job, so if you have little or no experience in laying floors yourself, it may be best to leave this job to an experienced professional. However, if you happen to be a seasoned DIYer, we are confident that you can lay this flooring successfully!
Tools for laying straight Dryback Vinyl
Planning on installing a straight dryback vinyl floor yourself? Then you’ll need a few things! Check out the Floer shopping list below for a complete list of everything you’ll need.
- Pencil
- Tape measure
- Wire
- Stanley knife or vinyl plank cutter
- Hoover
- Sander with 40-grit paper
- Vinyl glue
- Glue comb
- Floor roller (at least 32 kg)
- Acclimatised dryback vinyl floor
Step 1: Acclimatisation of the floor
Before laying the vinyl floor, several steps must be taken. The first step is to let the floorboards acclimatise. Acclimatisation allows the floor to adjust to the climate of the room where it will be laid, helping to avoid problems later on. Failure to acclimatise the floor properly may cause it to malfunction.
Lay the floorboards on top of each other in a hashtag (#) pattern to ensure optimal airflow. Refer to the picture on the right for guidance. If you lay the packs straight on top of each other, certain parts of the floorboards may not acclimatise well enough. All floors, including straight dryback vinyl floors, should acclimatise for at least 48 hours.
Step 2: Levelling
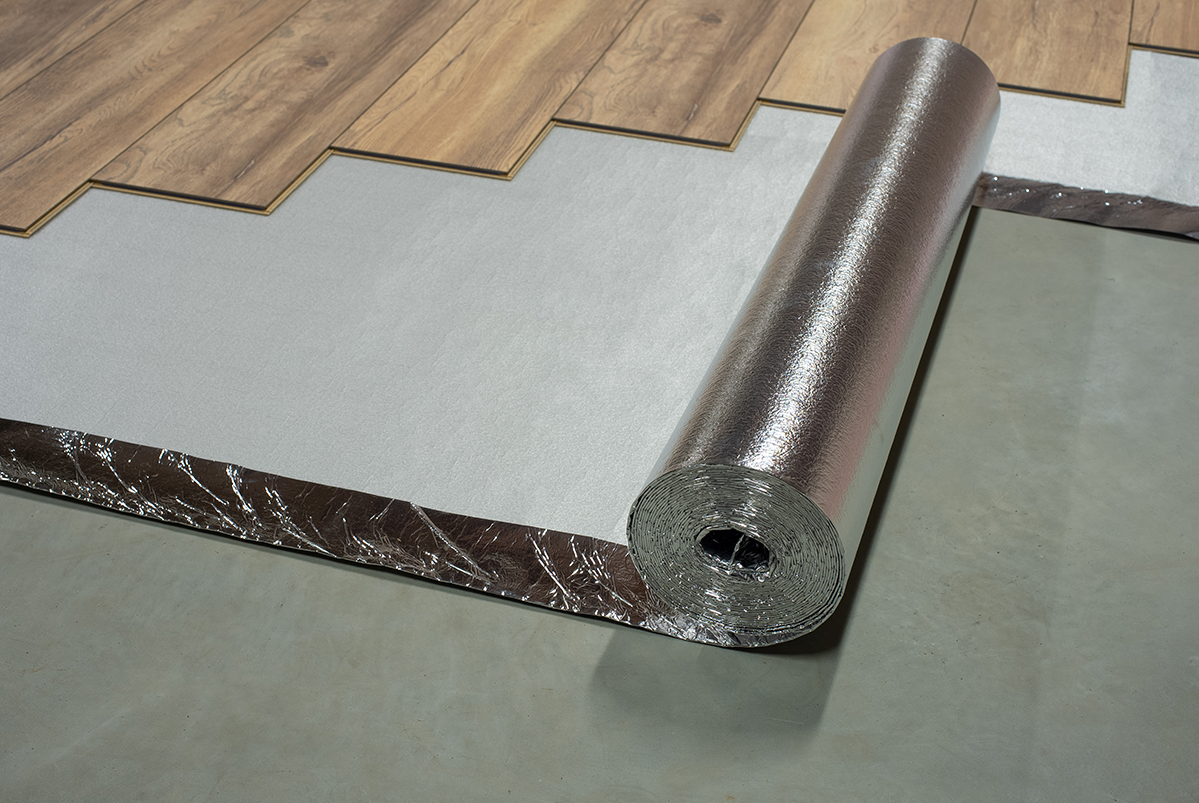
Do you intend to lay the vinyl sheet on an uneven surface? If so, you will need to level the surface first. Vinyl flooring planks are thin, so any unevenness will quickly become visible once the floor is laid. If you plan to level the subfloor, be sure to allow the levelling compound to dry for at least 48 hours before gluing the new floor on top.
Step 3: Sanding & dust removing
After the levelling compound has dried, sand the surface with 40-grit paper using a sanding machine. Sanding the floor ensures optimal adhesion between the glue and the layer of levelling compound. Once you have sanded the entire floor, dust the room thoroughly. Use a vacuum with a good brush to ensure no dirt remains.
Step 4: Laying out the floor
Before starting to lay the floor, ensure that the levelling compound has been sanded and the room is dust-free. Measure the entire width of the floor and calculate it so that you have at least 1/3 of the plank left on all sides. This will help ensure that small leftover pieces are avoided.
Next, calculate the distance between the wall and the start of the floor. Then, stretch a wire in the middle of the room at this distance, running proportionally along this wall. Use this wire as a guide while laying the first row of floorboards on the concrete floor to ensure that the floor will be straight. After laying the first row of floorboards, it is useful to add some weight to keep the boards from moving.
Step 5: Applying the adhesive
To begin, apply the first part of the contact adhesive using a glue comb suitable for vinyl floors. The teeth of these combs have the perfect depth for dryback vinyl floors. Start from the middle of the floor where you laid the first row of boards and work towards the wall. Before you start gluing, wait about 20 minutes for the contact adhesive to have the best effect.
Step 6: Laying the floorboards
If your alarm clock startled you awake during a quick 20-minute afternoon nap, it’s time to start installing the floorboards onto the glued-on substrate. The floors have a low profile that allows you to place dryback vinyl strips snugly against door frames. The painter can seal any gaps between the floor and the door frame at a later time for a polished final result.
To begin, neatly lay the first half of the floor in place before proceeding to spread the glue in the other half of the room. After applying the glue, give it 20 minutes to fully bond. During this time, you may choose to take another quick nap or view additional FloerTube videos. Once the glue has fully bonded, proceed with the installation of the second half of the floor.
Which Dryback Vinyl floor is laid in the video?
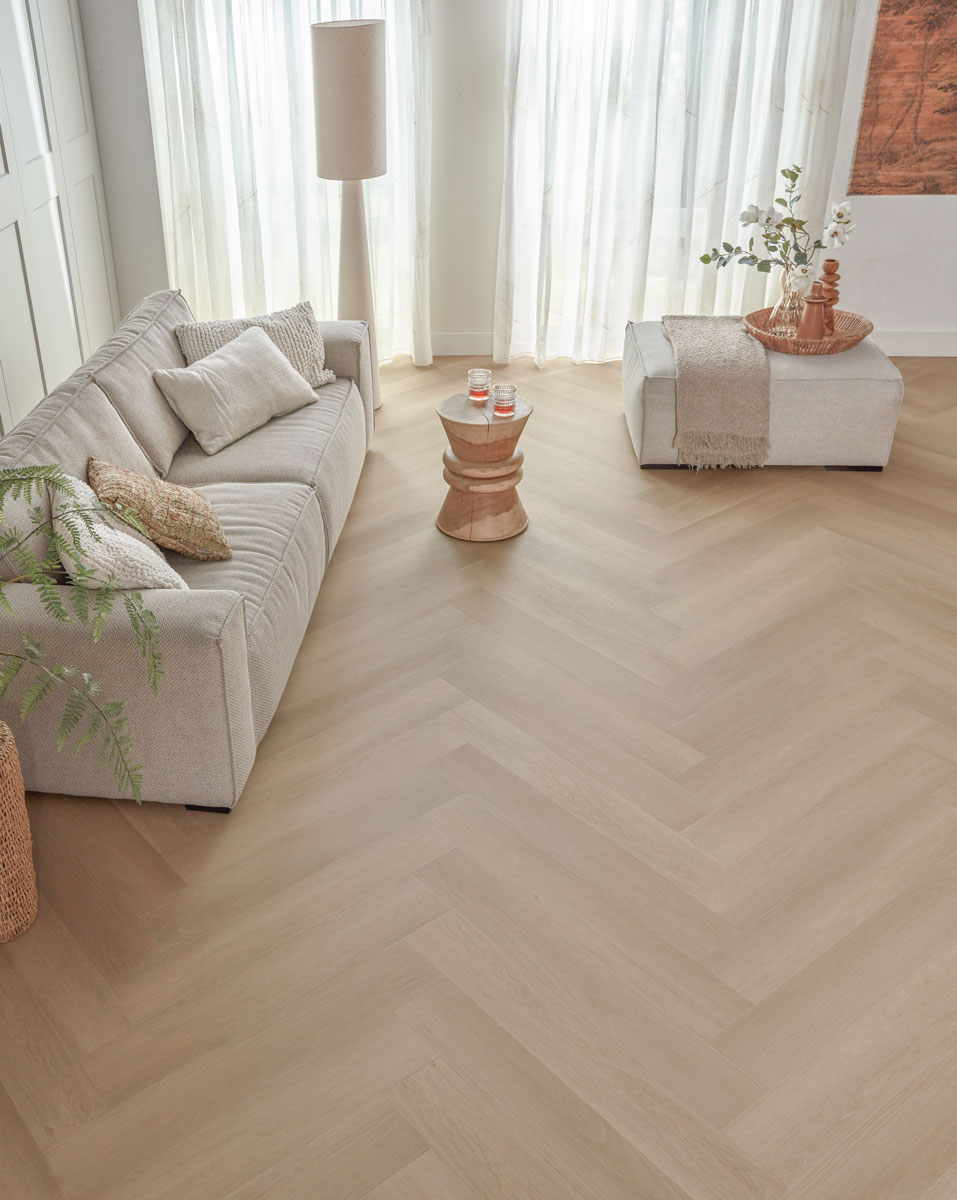
Do you want to know which floor was used in the FloerTube video? The floor is a Village Vinyl floor in the Onnen Untreated Oak colour. These floors are produced in an eco-friendly manner without the use of harmful plasticisers, making them a truly sustainable choice. If you would like to see this floor in person, you can order a sample to see how it would look in your home.
Step 7: Vacuuming & rolling
The floor installation is complete! The only remaining task is to give it a thorough vacuuming and roll it. Use a roller weighing at least 32 kg and roll both lengthwise and breadthwise. Rolling helps the floor boards adhere as closely as possible to the glue and subfloor.
Step 8: Put Your Feet Up!
With the floor rolled and the room completely clean, you can now relax and enjoy your newly laid Dryback Vinyl floor. You have successfully learned how to lay straight glued vinyl flooring and are one step closer to earning the prestigious title of “Floer Expert”!
Table of contents
- Dryback Vinyl flooring
- How to lay Dryback Vinyl?
- Tools for laying straight Dryback Vinyl
- Step 1: Acclimatisation of the floor
- Step 2: Levelling
- Step 3: Sanding & dust removing
- Step 4: Laying out the floor
- Step 5: Applying the adhesive
- Step 6: Laying the floorboards
- Which Dryback Vinyl floor is laid in the video?
- Step 7: Vacuuming & rolling
- Step 8: Put Your Feet Up!