![]()
Levelling a floor is often necessary to prepare a subfloor for the installation of a new floor. By removing any unevenness, you can create a smooth, level surface that is ready for the new flooring. In this FloerTube video, Guido explains how to level a subfloor for your new Floer.
Why levelling?
When do you need to level a subfloor? It’s important to have a suitable subfloor before laying a new floor in your home. This can be achieved by using a good underlay or by levelling the floor. Doing so contributes greatly to maintaining the quality and lifespan of the floorboards. For example, a good underlay protects the click connection and ensures sufficient compressive strength.
Levelling the floor creates a flat and level substrate, making it ideal for bonding a vinyl floor. While levelling is typically done by a parquet installer or a professional, it is possible to do it yourself. If you choose an adhesive vinyl floor, it’s always necessary to level the subfloor. Vinyl floors are thin and glued to the subfloor, so small irregularities can be noticeable on the surface. To prevent this, the substrate must be leveled and we tell you how to do this here.
What supplies are needed for levelling?
Here is the list of things you need to level a floor:
- Levelling compound
- Water (use the quantity indicated on the packaging of the levelling compound)
- Primer
- Buckets for the hardener mix
- Mixer/cement mixer to mix the levelling compound
- Scraper/putty knife
- Spiked roller
- Pain roller
- Spatula/stirrer
Last but not least, don’t hesitate to ask for help! Working in pairs is more convenient than working alone. This way, you can continue working while one person prepares the levelling compound, ensuring that it doesn’t have time to dry in the meantime.
Levelling can be learned

Before you can begin, the surface must be cleaned. Check for paint splatters or other uneven areas on the floor, such as glue residue. In most cases, these can be removed with a putty knife. Use a good vacuum to make the room completely clean and dust-free, so there is no dirt in the air or on the floor. Then, apply primer to prepare the surface. Use a paint roller to apply the primer. This is important for two reasons: it ensures good adhesion of the levelling compound and prevents it from drying too quickly. This reduces the risk of cracking, which is important! Once the primer is dry, you can start levelling.
If you plan to level over a tiled floor, first sand and degrease it. This ensures optimal adhesion of the levelling compound and adhesive.
You can learn how to level!
Preparation
Good preparation is half the battle! That’s why it’s advisable to have all supplies ready before starting. We prepare buckets of water, bags of levelling compound, and other necessary supplies. This is especially useful when levelling several rooms, as is the case in the new building (as seen in the video) where multiple rooms are being leveled and several people are involved. We recommend that at least two people work together, with one person mixing the substance and delivering it to the person levelling the space. We mix the compound using an XXL version of a hand blender, also called a cement mixer. Mix until you have an even and lump-free substance.
Levelling a floor
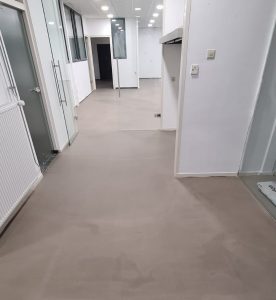
Is the room clean? Is the primer dry? And is the mix ready? If so, it’s time to start levelling the floor. To begin, empty the first bucket of levelling compound. Use a spatula, also known as a (levelling) squeegee, to spread the compound evenly. Squeegees are available in different widths and have small teeth to help spread the compound evenly and remove the larger air bubbles. Once the compound is spread, go over it with a spiked roller to de-aerate the levelling compound and remove any remaining small air bubbles. This ensures that the levelling compound dries evenly.
To prevent the levelling compound from running away from a specific area, such as stairs, place a kit edge where you want the compound to stop. This will help you to work more accurately. If you need to level multiple rooms, level them all at once. In most cases, the levelling compound will be dry enough to walk on carefully after about 4 hours. Depending on the type of levelling compound used, the room will be fully usable again after 48 hours.
Ready to Floer
Never place anything like rugs on top of the levelling compound immediately after levelling, as this will prevent the compound from drying properly. After 48 hours, the compound should be dry and hardened. Before installing a floor on top of the compound, it must be sanded to remove any grains and unevenness, ensuring a completely even surface. Additionally, sanding promotes perfect adhesion between the adhesive and the levelling compound. With these steps completed, the room is ready to be floored!
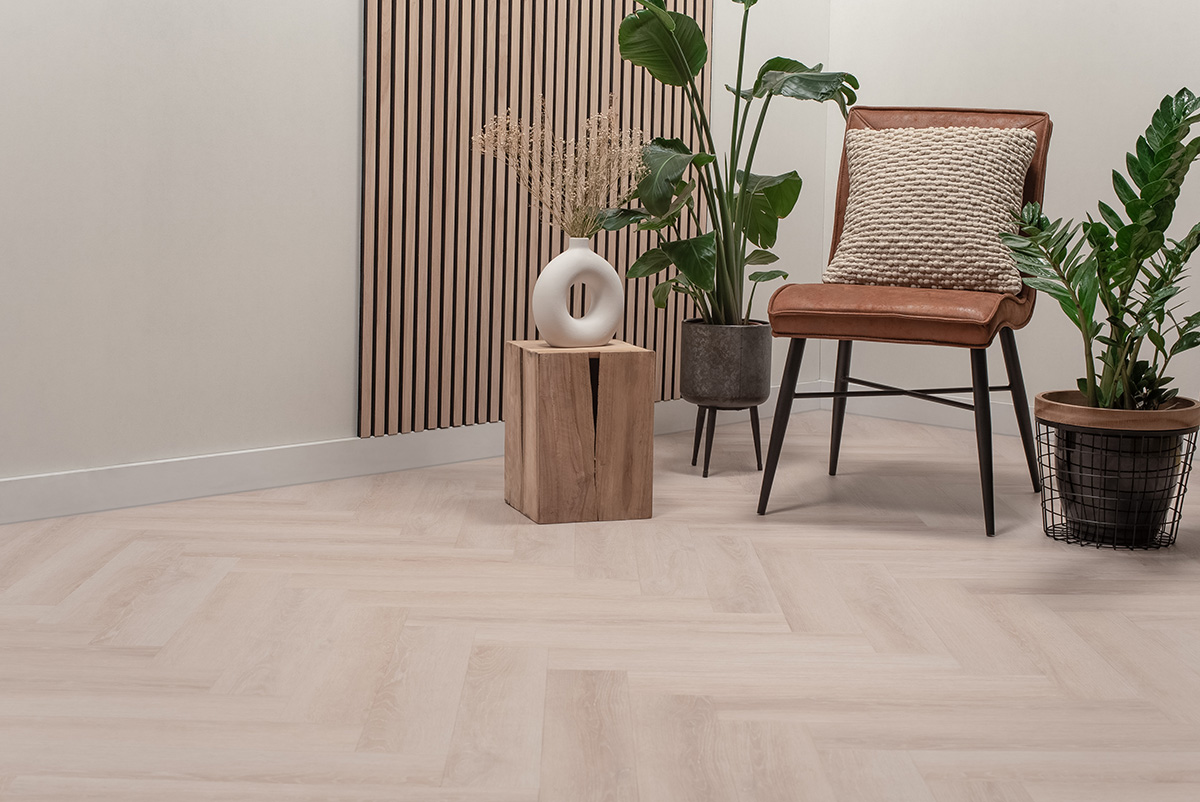
The underlay is now suitable for all Floer floors. You can choose from a variety of Dryback Vinyl floors such as those from the Village Vinyl collection, the extra large Whalebone Vinyl, or the normal Herringbone Vinyl. If your surface was very uneven and has now been leveled, consider one of our beautiful Oak Herringbone Laminate floors or the wide Country House Laminate. View our entire range of Floer floors to discover all of your options.