While it may seem like an easy task, laying a herringbone vinyl floor requires some knowledge and experience. These floors are not easy to install quickly. However, if you’re up for the challenge and want to lay a herringbone vinyl floor yourself, Floer can help. We offer a handy FloerTube video, an extensive step-by-step plan, and clear instructions for laying your new floor.
Herringbone Vinyl flooring
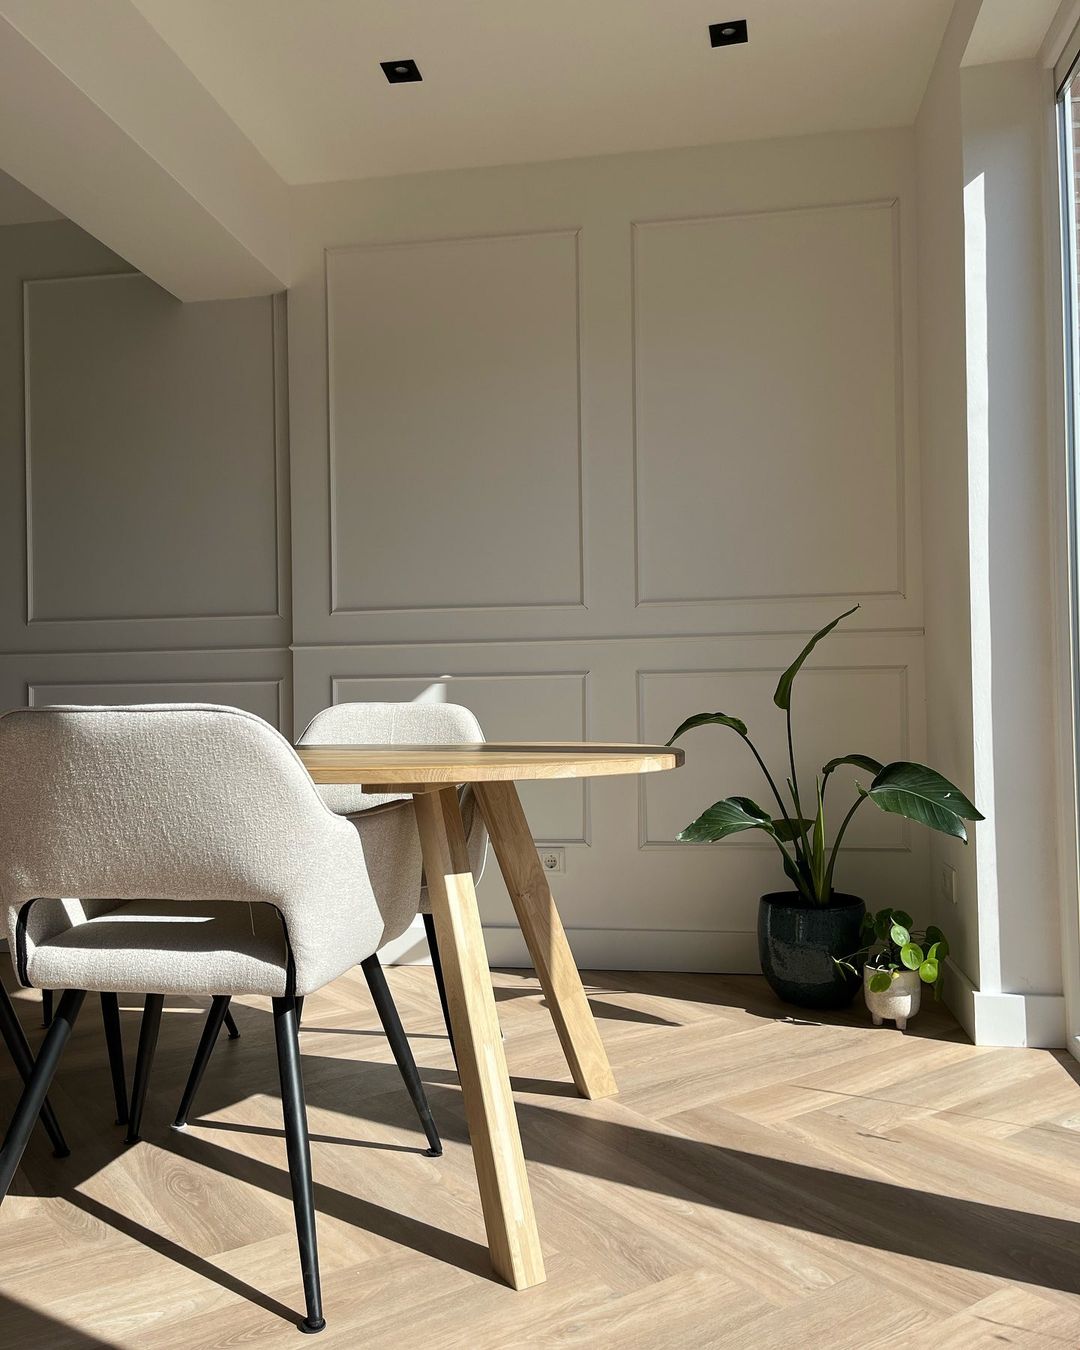
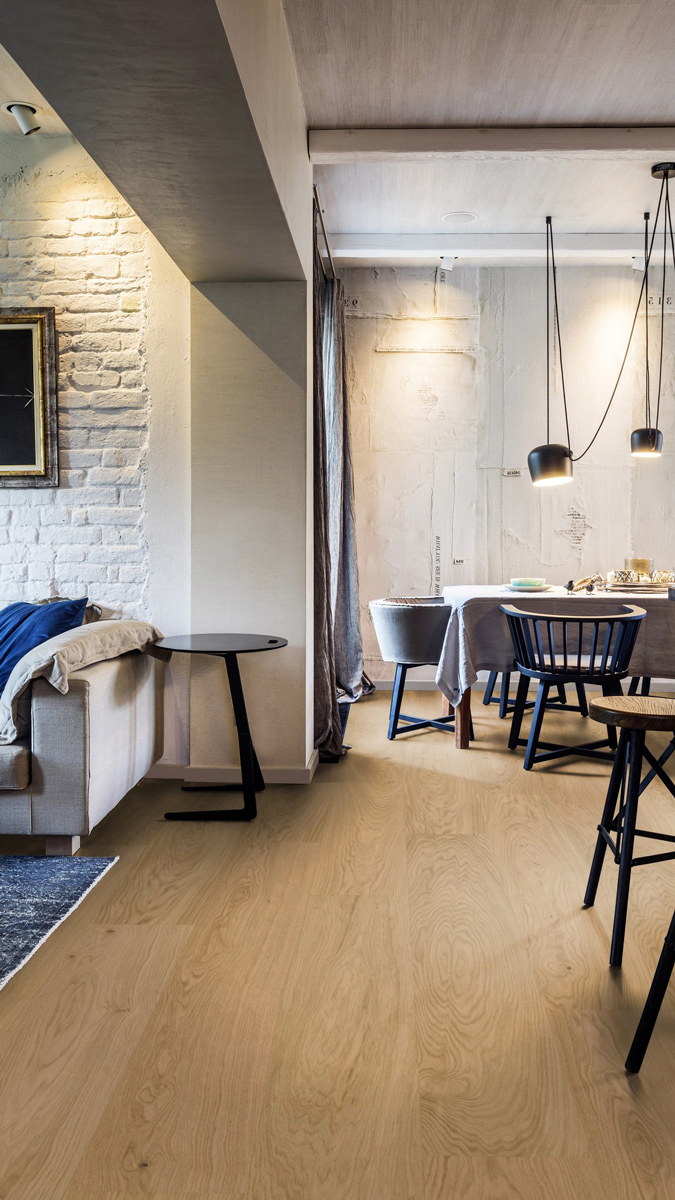
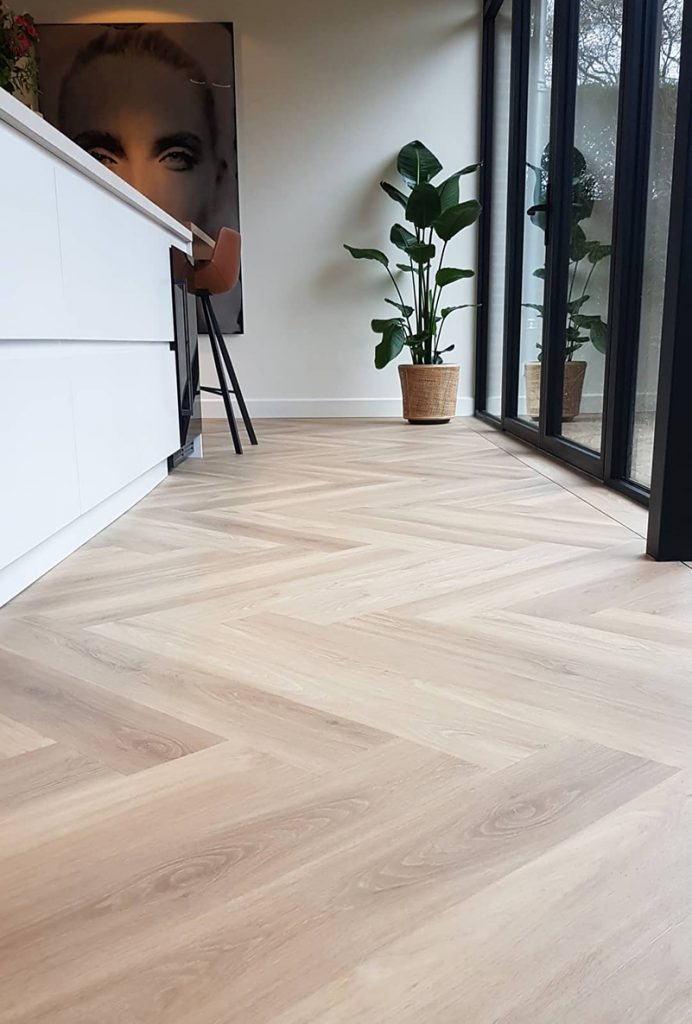
Herringbone Vinyl flooring is immensely popular and for good reason. Vinyl flooring is in demand due to its durability, ease of maintenance, and the versatility it offers in terms of design. Did you know that vinyl floors can be laid in various joint patterns and are also suitable as stair treads? Because vinyl can easily be made to measure, it is a great choice for stair treads. And let’s not mince words about the popularity of the herringbone floor pattern. It’s everywhere in interior design, and that speaks for itself. Herringbone floors are beloved!
How to lay Whalebone Vinyl?
Are you planning to install a Whalebone Vinyl floor instead of a herringbone vinyl floor? Both collections are actually herringbone vinyl floors and are installed in the same way. If you’d like to install a herringbone vinyl floor, such as Balein Beige, yourself, you’ll need the following supplies and a step-by-step plan!
Requirements for laying Herringbone Vinyl flooring
If you’re planning to lay a vinyl herringbone floor yourself and want to know what supplies you’ll need, check out this list for laying herringbone vinyl flooring!
- Pencil
- Wire
- Tape measure
- Vacuum cleaner
- Stanley knife or Vinyl cutter
- Square
- Sanding machine paper 40
- Glue comb for vinyl
- The roller of at least 32 kg
- Acclimatised whalebone/herringbone floor!
- Levelled surface
Laying instructions: installing Herringbone Vinyl flooring
Wondering what steps you need to take to install a herringbone Vinyl floor? Discover the complete step-by-step plan here!
1. Acclimatise the Herringbone Vinyl floorboards
First things first! Before you can start laying a herringbone vinyl floor, you need to acclimate the floorboards. Acclimating the floorboards allows the floor to adjust to the indoor climate of the room or home, which is an essential step to ensure the quality of the floor.
To acclimate the floorboards, lay them in a hashtag bond (#) in the room where the floor will be installed. By doing this, there is enough space for each board to adjust to the climate, and optimum airflow is created. We do not recommend stacking boards straight on top of each other, as this will not allow them to acclimate sufficiently in the middle. Any type of floor, including a herringbone vinyl floor, must acclimate for at least 48 hours before installation can begin.
Levelling, don’t forget!
If the subfloor on which the Vinyl Whalebone floor will be laid is not 100% level, it is important to level the subfloor. An extremely even surface is necessary when laying Vinyl flooring. If the surface is not even and a vinyl floor is laid regardless, unevenness may become visible in the floor surface over time. Therefore, it’s important to level the surface before laying the Vinyl floor. After levelling the surface, depending on the product, allow the levelling compound to dry for 48 hours before gluing a new wide vinyl floor down.
2. Sanding & cleaning
The house has been levelled, the supplies are ready, and you are ready to get started. That’s great because we are going to start working with the big guns: the sander with a grain size of 40. Use this sander to sand the dried layer of levelling compound. This helps ensure optimal adhesion between the levelling layer and the glue. After sanding the levelling compound, it’s time to make the room dust-free. Grab the vacuum cleaner and start cleaning!
3. Herringbone Vinyl pattern and line tensioning
To ensure a straight floor, start by laying a strip of vinyl herringbone floorboards from left to right to determine the pattern. This way, you can avoid having half a plank on one side and a full section of space on the other. Adjust the starting point until the same amount of space remains on both sides. This determines the points of the herringbone pattern and ensures the right start. Next, select a full herringbone point that is flush with the longest wall in the room. Measure the distance from the point to the wall and mark it off on the floor. Repeat this process at both the front and back of the room to mark where the point should return from the floor.
Finally, stretch a line between the marked-off spaces using wire and two closed packs of the floor. This wire serves as a guide to ensure that the floor will be straight in the house.
Floer tip
To ensure that both sides of the house have the same distance, first plot the points. Next, measure the distance between the longest wall in the house and the point of the longest track that will pass through the house. Draw a line at this measured distance at both the beginning and end of the longest wall, and span a line at this distance. By doing this, you can check that the point of the longest track always returns to the same distance from the longest wall. This way, you can ensure that the floor in the house is straight.
4. Placing the first Herringbone point
Once the wire has been stretched, lay the first six floorboards in the pattern without glue. Use a square and the wire to ensure they are straight. Adjust the boards until they are flush with the line. Once you are satisfied, place four vinyl strips with glue on the floor after the six loose floorboards. This marks the start of your herringbone vinyl floor, which should be laid carefully and with attention to detail. Remember: a good start is half the work! From here, continue working on the floor.
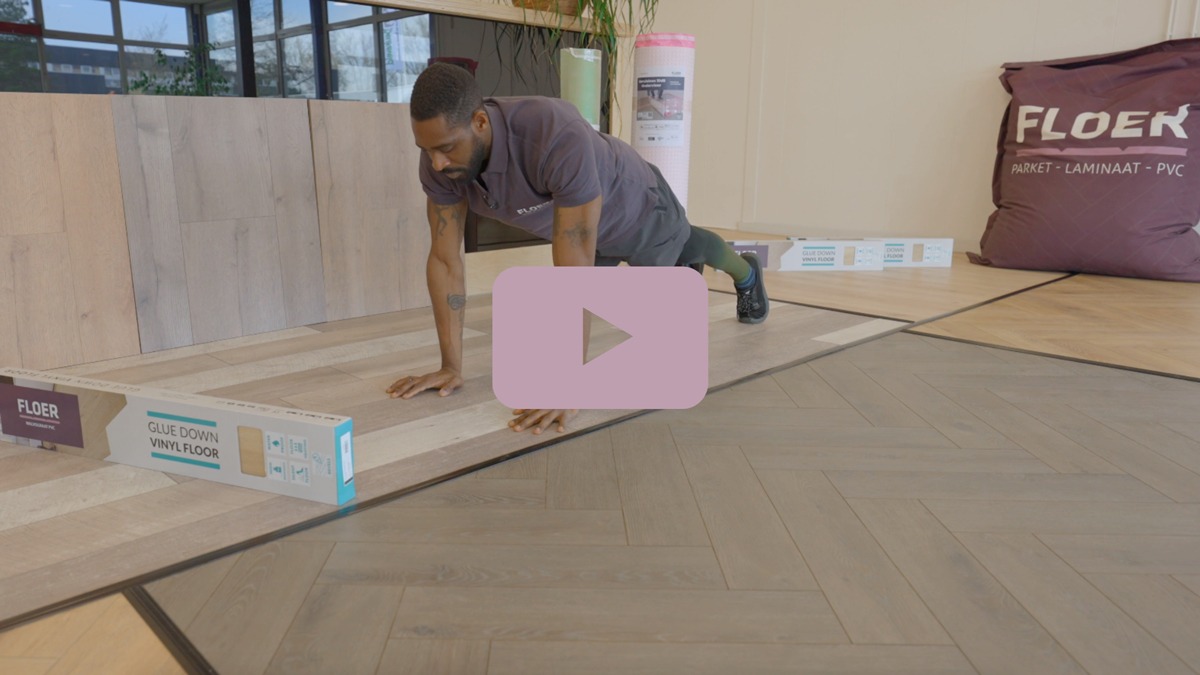
Which Herringbone Vinyl floor is laid?
The video showcases the Whalebone Vinyl floor Orka Untreated! Would you like to see more of this floor? Or are you curious about the difference between a Whalebone and a Herringbone Vinyl floor? Read all about it and find out for yourself! Would you like to see and feel this floor in person? Order a sample and have it delivered to your home! It’s small enough to fit through the letterbox. 😉
5. Applying adhesive to Vinyl flooring using a glue comb
How do you apply adhesive to a vinyl floor? If you are going to glue a dryback vinyl floor, you will need glue. Apply the adhesive using a notched trowel to evenly distribute it over the surface. It is important to use a glue comb specifically designed for vinyl floors with teeth deep enough to provide the proper coverage. Once you have coated part of the area with the glue, allow it to set for 20 minutes to ensure the best adhesion between the adhesive and the dryback vinyl floor parts. After the waiting period, you can glue the vinyl herringbone strips to the floor. Take a break and enjoy a sandwich or coffee while you wait for the adhesive to set!
6. Zigzag through space
Once the glue has dried sufficiently and the floor can be connected to the already installed starting point, continue working in a zigzag manner, installing the floorboards from left to right. After one section is finished with glue and boards, apply glue to a new section. This is how you lay your herringbone vinyl floor!
If you reach a doorframe or wall and can’t fit a whole vinyl plank, you’ll need to cut it to size using a Stanley knife or vinyl cutter. Store the remaining pieces well, they can still be used on the other side of the room.
7. Roll on!
Have you fitted the entire room with a new herringbone vinyl floor? Are the corners in place and has each section been patterned? Then it’s time to roll the floor. Use a roller weighing at least 32 kilograms. Roll each section both lengthwise and widthwise to ensure optimal adhesion between the glue and the panels.
8. #floered with Herringbone Vinyl!
Now that you’ve had a lovely time rolling on the new herringbone vinyl floor, you’re ready to clean it with a vinyl cleaner. After cleaning, you can decorate the room with your furniture. Don’t forget to share the final result!
Is laying a Herringbone Vinyl difficult?
Let’s face it, laying a herringbone vinyl floor is not an easy job! If you’re an experienced do-it-yourselfer, we’re confident you’ll be able to finish this job yourself. However, it’s important to note that laying a herringbone vinyl or whalebone vinyl floor is trickier than laying a laminate floor. This is mainly due to the surface needing to be extremely level, and herringbone vinyl flooring being laid with glue. As a result, laying a herringbone vinyl floor is perceived as more difficult compared to a floor with a click connection, such as a wide Laminate floor or one of the other Laminate floors available.
More videos
Do you want to watch more videos? Check out all episodes of FloerTube to learn how to install Herringbone Rigid Click Vinyl flooring yourself! Interested in the differences between Rigid Click Vinyl and Dryback Vinyl floors, or the benefits of extra-wide Laminate? FloerTube covers it all! If you have a pressing question, submit it and it might be answered in the next episode of FloerTube. And if you’re curious about all of Floer’s floors, request a free collection book and receive it in your mailbox within a few working days.
Table of contents
- Herringbone Vinyl flooring
- How to lay Whalebone Vinyl?
- Requirements for laying Herringbone Vinyl flooring
- Laying instructions: installing Herringbone Vinyl flooring
- 1. Acclimatise the Herringbone Vinyl floorboards
- Levelling, don't forget!
- 2. Sanding & cleaning
- 3. Herringbone Vinyl pattern and line tensioning
- Floer tip
- 4. Placing the first Herringbone point
- Which Herringbone Vinyl floor is laid?
- 5. Applying adhesive to Vinyl flooring using a glue comb
- 6. Zigzag through space
- 7. Roll on!
- 8. #floered with Herringbone Vinyl!
- Is laying a Herringbone Vinyl difficult?
- More videos