How do I lay a Herringbone Laminate floor?
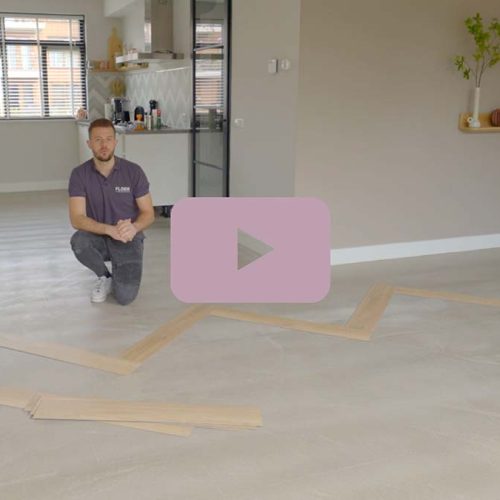
This Floer blog features a useful instructional video! If you have opted for a beautiful laminate floor, it could be an exciting undertaking to install it yourself. Luckily, laminate and rigid click vinyl floors come with convenient click connections, making them a breeze to install. To make the process as effortless as possible, we have provided a step-by-step guide. If you prefer to watch a video instead of reading, you can view the FloerTube episode “How to lay a Herringbone Laminate floor?” here!
For a perfect start
To assist even inexperienced handymen, we have developed a variety of tools. If you’ve ordered a herringbone laminate floor from one of our dealers, you’ll receive a free starting point to help you get started and achieve the perfect start. Additionally, we offer simple laying instructions, a laying video (see above), and this article. These resources are incredibly useful as they allow you to begin your project right away! But now let’s focus on the reason you’re here: how to lay a herringbone laminate floor?
How to lay a Herringbone Laminate floor?
Alright, you’re ready to lay your own herringbone laminate floor! But how do you install it? You can follow this step-by-step guide to learn how. If you’re still having trouble, there’s also a video available to help you along. Installing herringbone laminate is made easy thanks to its convenient click connection system. Want to learn more about its advantages? Check out our blog post “8 Advantages of Herringbone Laminate”.
Herringbone laminate floor click-connection
 Before you start, it is important to understand how the click connection works on your herringbone laminate floor. The click connection determines how the parts can be mounted. Our Herringbone Laminate floors have a Fastclick connection, making it easy and quick to join the floor together. Compared to the average click connection in the market, these Herringbone Laminate floors can be laid 50% faster. The boards can be joined together using a ‘drop-down’ system, where you click the plank from top to bottom. If you hear a ‘click’, you have succeeded and can move on to the next plank!
Step 1: Acclimatisation of the floor
Has your floor been delivered? If so, place all packs in the room where they will be laid. The floor needs to acclimate for at least 48 hours. Have you checked this step off your list? Great! You’ve taken the first step and in at least two days, you can continue laying the floor. Do you want to know why your floor needs to acclimate? Read all about it in the article.
Step 2: Checking the subfloor
To begin preparing for the installation of a herringbone floor, start by making the surface flat and even. Use a putty knife to remove any paint residue or other unevenness. Once this is done, check the subfloor for height differences. For both herringbone parquet floors and herringbone laminate floors, there should not be more than a 2 mm height difference over a length of 2 meters. If the height difference is greater than 3 mm, the surface must first be levelled.
If you are not experienced in levelling surfaces, contact your dealer to see if they offer this service. Alternatively, you can learn how to level a surface and do it yourself. Once the surface is levelled, let it dry thoroughly before moving on to the next step in the installation process: laying the herringbone floor.
Step 3: Clean that surface!
Before laying the herringbone laminate floorboards, the surface needs to be cleaned thoroughly. Gather the dirt by sweeping it together and ensure that the surface is free of dust. Once the surface is clean, proceed to lay the herringbone laminate floorboards.
Step 4: Installing the underlay
Determine where you will begin laying the floor. Cover this area with the underlay and cut it to size using a Stanley knife. You can find a range of underlays on the Accessories page.
Step 5: Making starter points!
If you order a herringbone laminate floor, you will receive a free starter point. If you do not have our Installation Instruction Herringbone Laminate Flooring or have not requested it, please get in touch with us so we can send it to you. Here, we have summarised the instructions for you:
– Connect 3 right and 3 left parts together
– Mark it off from left to right
– This involves both upper shelf parts. Draw a line from the inner corner of your left plank to the outer corner of your right plank
– Take a piece of plank and check both sides for length. The starting point should be the same length on both sides as a single herringbone laminate plank
– Cut the starter point to the appropriate size. Keep the remaining pieces, as you may need them later for small corners
Tip: Watch the video! Starting at 1:10, you can see how to create a starting point for your herringbone laminate flooring.

Step 6: Determine the points
Now that you have determined where to lay the floor, it’s time to start with the starting points. First, create a zigzag bond with boards. You can see this process in the video at minute 2:20. Laying the zigzag pattern of boards along the entire length of the room where you will lay the floor helps you determine how to lay it and where the points of the floor will be. Next, measure the distance to the wall and create a plank, which we call the edge plank. Make several of these, as you will need them later. Remove the first three or four herringbone planks from the zigzag pattern, and then you can start laying the starting points.
Step 7: Lay the herringbone laminate floor
To begin laying your herringbone floor, start by placing the first starting point. Connect the first edge board to this and slide it towards the wall, making sure to keep at least a 1 cm distance from the wall. Next, connect the second starting point, starting with a right-hand board. Connect this second point to the first starter point using an additional plank, and then add a left plank for added strength. From here, build out towards the wall with left and right sections until you reach the wall. Fill any empty spaces with custom-made edge boards.
To lay the floor in a zigzag pattern, continuously work from left to right and back again, repeating until the herringbone pattern is complete. If you reach the end of the room, use the leftovers from the starter points to fill in the empty corners. Cut these to size and lay the last floorboards.
Step 8: Well done!
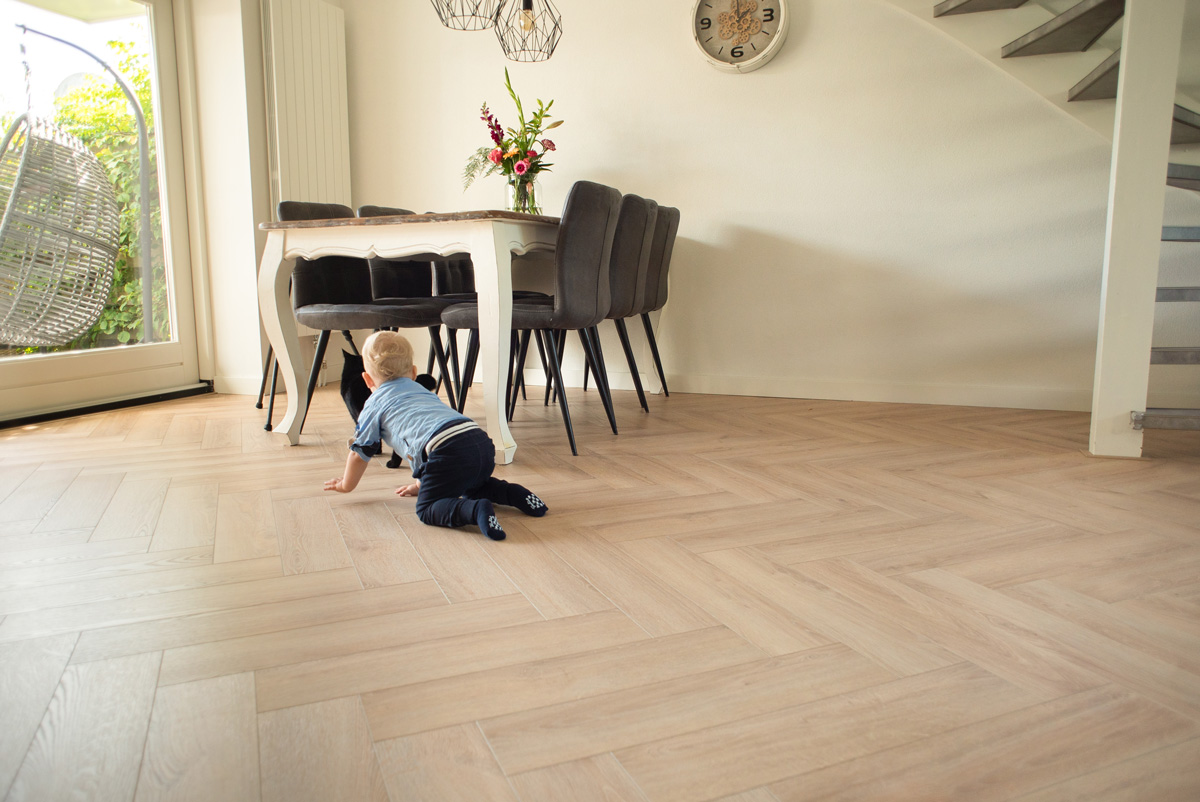
Great job! If you followed all the steps, you should now have a beautiful herringbone laminate floor that you can be proud of. We’d love to see the final result! Share a photo with us by sending a message to Floer on one of our social media channels or by tagging us. We enjoy receiving photos from satisfied customers!

If you would like to have your floor laid, please contact your Floer dealer to discuss the possibilities. If you prefer to see a floor in real life, you can visit the Floer Experience Center or drop by one of our dealers. Of course, it’s also possible to request a sample of Floer, which will be delivered quickly and easily to your letterbox.
Table of contents
- How do I lay a Herringbone Laminate floor?
- For a perfect start
- How to lay a Herringbone Laminate floor?
- Herringbone laminate floor click-connection
- Step 1: Acclimatisation of the floor
- Step 2: Checking the subfloor
- Step 3: Clean that surface!
- Step 4: Installing the underlay
- Step 5: Making starter points!
- Step 6: Determine the points
- Step 7: Lay the herringbone laminate floor
- Step 8: Well done!