![]()
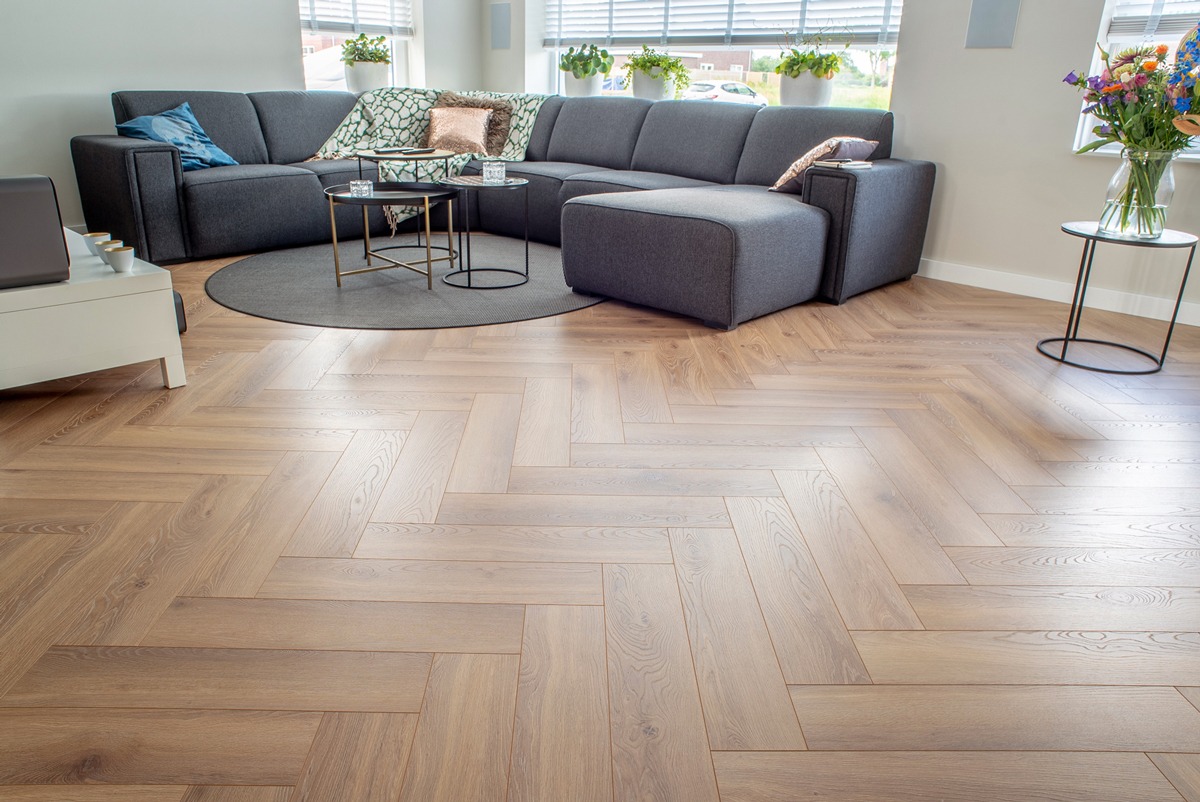
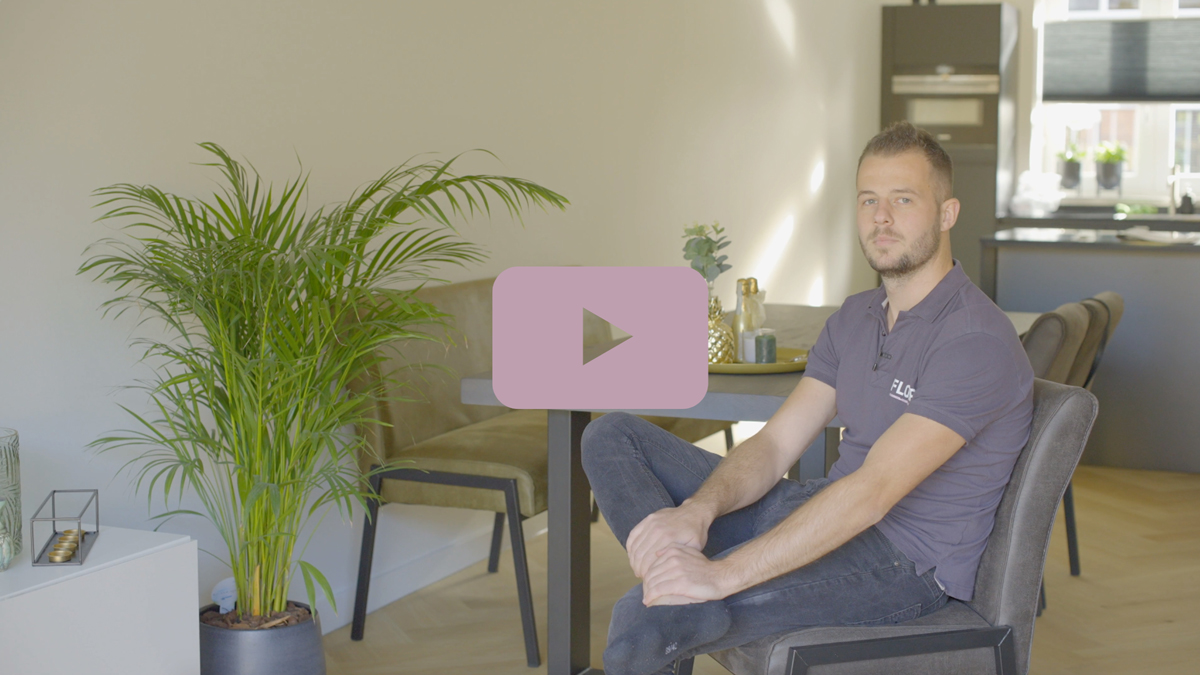
If you’re wondering how to install a Herringbone Rigid Click Vinyl floor, you’re in luck! Thanks to the handy click-connection, it’s easy to lay this stylish floor pattern yourself. But if you need a little extra guidance, don’t worry. Our step-by-step guide and laying video in this blog will show you just how simple it is to get started and continue laying the floor. In the FloerTube video, we’ll demonstrate the process for you. So go ahead and watch and read on to see how it’s done!
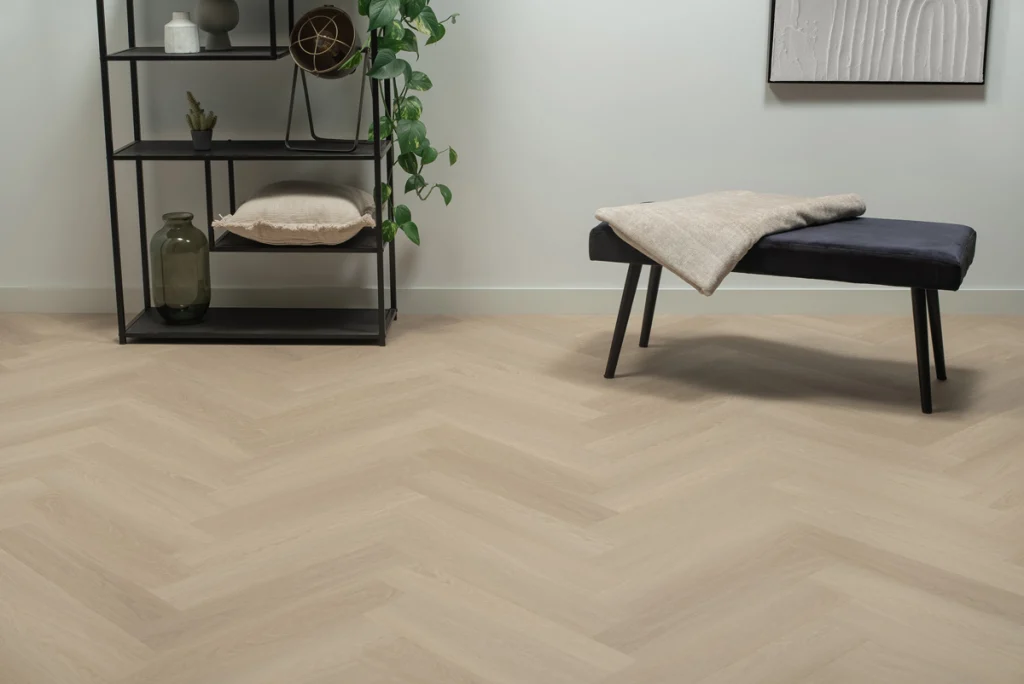
Roadmap: How to Lay a Herringbone Rigid Click Vinyl Floor
Laying a straight laminate floor is easier than laying a herringbone floor. When installing a patterned floor, it’s a good idea to get some extra help and guidance. Through the handy FloerTube videos, we share flooring tips and laying instructions. This time, we focus on laying herringbone Rigid Click Vinyl flooring yourself. How do you get started? Ensure a smooth start by first gathering all the essentials.
Equipment
When laying your Herringbone Rigid Click Vinyl floor, there are several supplies you may need. What are they?
- Spacers (included in Floer Installation Kit)
- Hoover
- Rubber mallet
- Pencil
- Tapping block (included in Floer Installation Kit)
- Ruler
- Floer Aluminium Underlay Tape
- Stanley knife
- Vinyl flooring cutter (or jigsaw tool)
- Rigid Click Vinyl Underlay
- An acclimated Herringbone Rigid Click Vinyl floor

Step 1: Acclimating the floorboards
Before laying a floor, it is essential to let the floorboards acclimate in the room where they will be installed for at least 48 hours. Acclimatising the floor is important to ensure that the boards can adjust to the indoor climate. This is highly recommended for any type of flooring and is an essential first step before installation. If you want to know more, read all about acclimatising a floor here.
Step 2: Clean the room
Let’s fast-forward to the present. The floor has been in the room where it will be laid for 48 hours and is now well acclimated. You can now begin laying the floor. In step 2, it’s important to start with a clean slate. Begin by thoroughly cleaning the room with a good vacuum cleaner.
Floer tip!
Are there small bumps on the surface? If so, they can be easily eliminated with the help of a putty knife. Over a length of 2 meters, there should not be a height difference of more than 2 mm. This applies to Herringbone Rigid Click Vinyl flooring, as well as Herringbone Parquet and Herringbone Laminate flooring. Due to the large number of joints in these patterned floors, we recommend an extremely tight surface.
Step 3: Laying underlay
Now that the surface is clean, you can lay the underlay. Roll out the underlay over the area where you plan to start laying the Herringbone Rigid Click Vinyl floor. Use Floer Aluminium Tape to connect the different strips together.
Floer tip!
Rigid Click Vinyl floorboards are extra strong and heavy due to the rigid core intermediate layer. Therefore, we strongly recommend using an underlay with an extra high compressive strength. The Rigid Click Vinyl Underlay is specially made for this purpose and has an extremely high compressive strength of 400 KPA. This provides the necessary resistance to support the heavy floorboards and ensures the quality preservation of the click connection. Only in combination with this underlay can you receive the 20-year manufacturer’s warranty on the floorboards.
Step 4: Creating a Herringbone Rigid Click Vinyl starter point
A Rigid Click Herringbone Vinyl floor consists of A and B planks. In one pack, there are 10 left and 10 right parts. To start a herringbone rigid click vinyl floor, you need 3 A and 3 B planks. Connect them together to make a starting point. From the highest point of plank A (left) to the lowest point of plank B (right), draw a line and mark it off. Cut the floor boards to size using a vinyl floor cutter or a jigsaw, preferably with an extra fine saw to ensure the best result. The tip that remains will be the starting point. Keep the leftover pieces because they can also be made into a starting point at the end of the floor. Repeat this process until you have as many starting points as you need.
Floer tip!
Do you want to ensure that your herringbone rigid click vinyl starting point is correct? After signing off, you can easily check this! This is because both sides of the starting point should be exactly one plank length or floor board long.
Step 5: Connecting the points
In step 5, we will connect the points together. Start by placing the starter points in a row next to each other near the wall where you will begin laying the herringbone rigid click vinyl floor. To connect the starter points, attach planks on both sides of each point. Use a tapping block and rubber mallet to firmly tap the planks into place. This will help to ensure that your herringbone rigid click vinyl floor is properly sealed. After connecting all the points, place spacers to create a 0.5 cm gap between the wall and the floor. Additionally, make sure that the distance on both sides of the floor is equal.
Step 6: Installing the floorboards
Now that the herringbone rigid click vinyl floor is properly centered, you can begin installing the floorboards. Start on the left side and work your way to the right in a zigzag pattern. Be sure to tap the long and end sides of each floorboard firmly. Repeat this process until you have laid the entire floor.
Step 7: Floer yourself
Once you reach the end, use the leftover pieces from the starting point for the empty corners. Trim them to size and insert the final Herringbone Rigid Click Vinyl floorboards. Congratulations, you have successfully completed the installation!
Are you impressed with the Herringbone Rigid Click Vinyl Floor? Share your end result with us! You can contact Floer customer service or follow Floer on social media platforms like Facebook and Instagram to share your photos. If you want to see more installation videos, such as how to lay a Herringbone Oak Parquet floor, check out our website. In addition to the beautiful Herringbone Rigid Click Vinyl floors, we also have strong Rigid Click Vinyl floors in extra-long and wide lengths.
Are you a fan of concrete-look floors? Then take a look at the Floer Tile Rigid Click Vinyl. View all of our floors and order a sample of your favourite one. If you’re interested in a herringbone floor but don’t know which one to choose, check out our 5 tips for buying a floor. Also, if you’re curious about the differences between a Herringbone Laminate floor and a Herringbone Vinyl floor, read our blog post on the subject.
Table of contents
- Roadmap: How to Lay a Herringbone Rigid Click Vinyl Floor
- Equipment
- Step 1: Acclimating the floorboards
- Step 2: Clean the room
- Step 3: Laying underlay
- Step 4: Creating a Herringbone Rigid Click Vinyl starter point
- Step 5: Connecting the points
- Step 6: Installing the floorboards
- Step 7: Floer yourself