If you have a tiled floor with underfloor heating in your home and want to replace it with something warmer and more comfortable, you’re in luck! In this blog post, we’ll guide you through the process of installing vinyl flooring over your existing tiles and underfloor heating so that you can enjoy a cozier and more modern space. So sit tight, and let’s get started on this exciting DIY project!
Vinyl over tiles with underfloor heating
Laying vinyl flooring over tiled floors with underfloor heating is a job that requires knowledge and experience. If you are an experienced do-it-yourselfer, you can do this tricky job by reading up, asking questions, and remembering some essential things to consider. These include levelling the tiles, sanding the tile floor, and considering the thermal resistance of the vinyl floor you want.
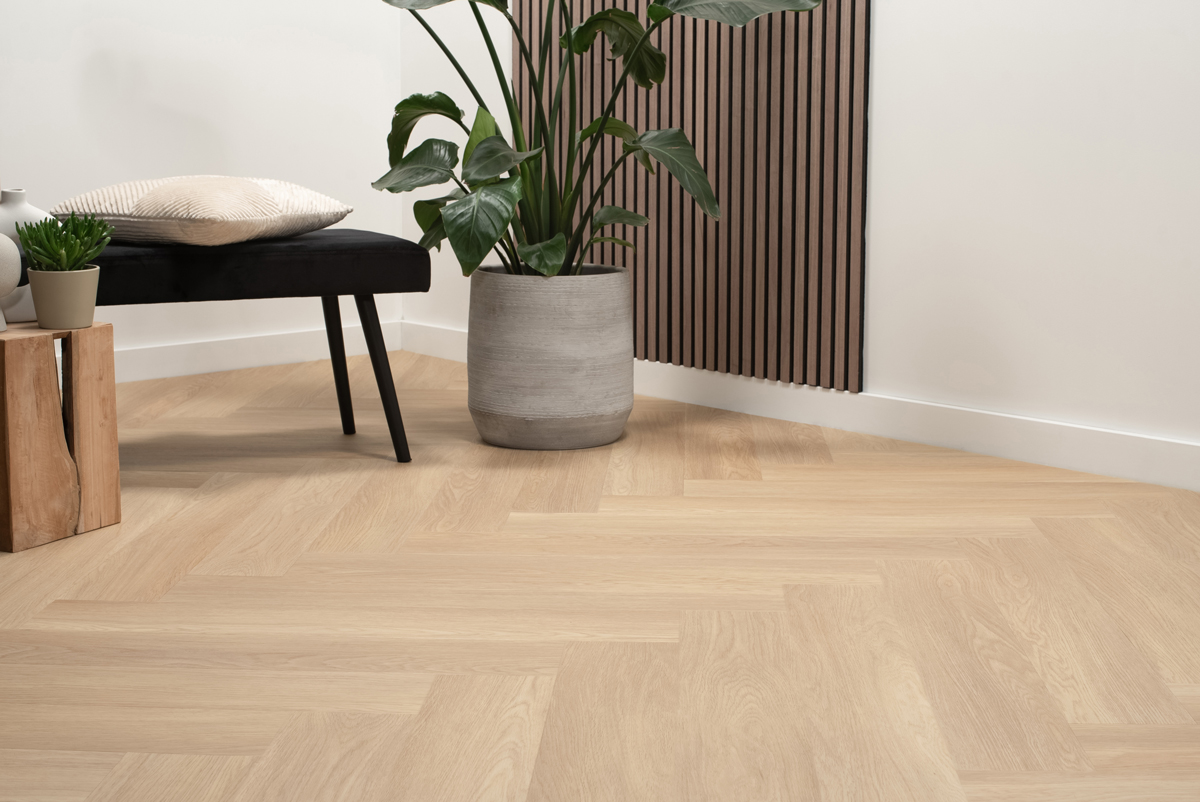
After degreasing and sanding the tile floor, the next step is to level the tile floor. Once this is done, the subfloor is ready to be floored with a vinyl floor, such as a wide Country House Vinyl floor.
Calculate the total thermal resistance
Why is it important to pay attention to thermal resistance? You should add the thermal resistance of the tiles to the resistance of the vinyl floor you plan to use. The sum of these values will be the total thermal resistance of the current floor. If you want to get the best performance from underfloor heating, the total thermal resistance should be below the maximum thermal resistance of the underfloor heating. If you choose a Rigid Click Vinyl floor, note that its thermal resistance is slightly higher than that of a Dryback Vinyl floor. However, this difference is so minimal that it is not noticeable. Nevertheless, it is still important to consider it when making calculations.
Levelling tiles
Levelling a floor is necessary before gluing on a vinyl floor in all cases. Joints and tiles often have height differences, and over time, these, along with other unevenness, can become visible in the ultra-thin vinyl strip. Prevent this by applying a layer of levelling compound! This creates a level surface that is suitable for installing a Dryback Vinyl floor, such as the Whalebone Vinyl.
Laying laminate over tiles
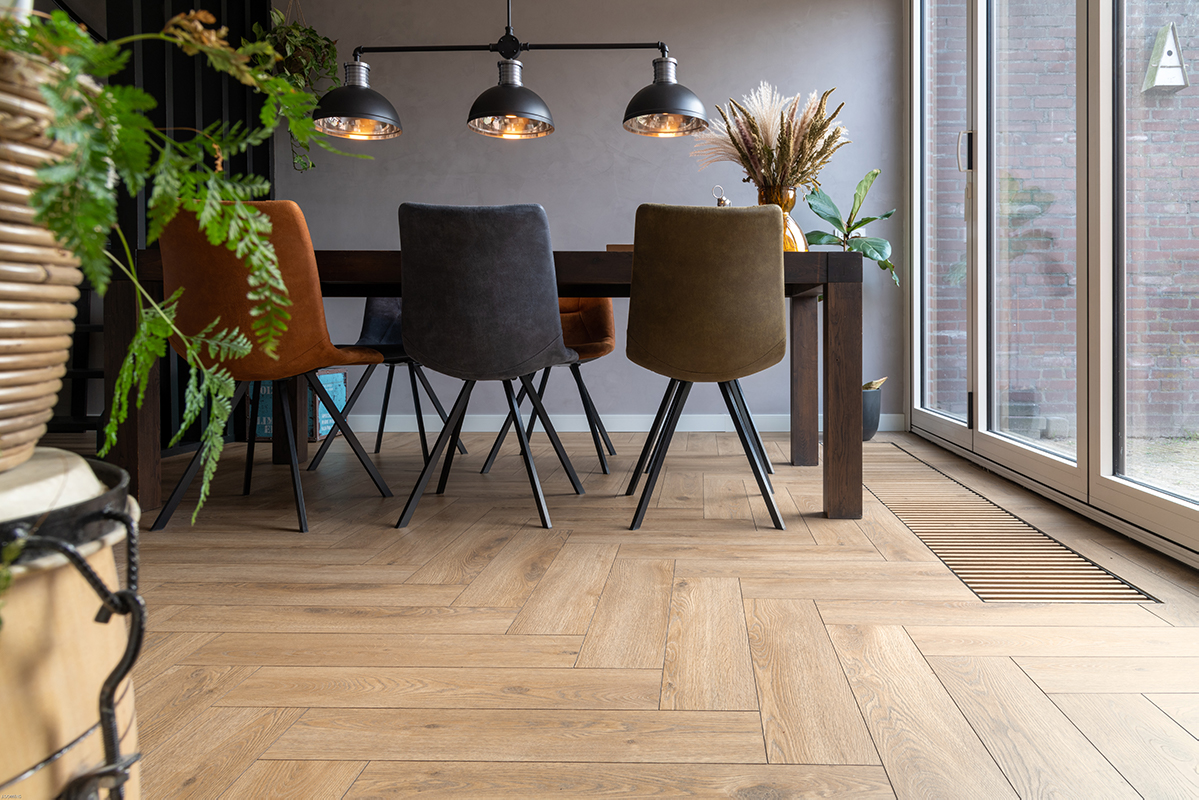
Are you planning to lay laminate over tiled floors? In most cases, it is recommended to level the tiled floor first. This is because there is often a height difference between the joints and tiles. If the difference in height is minimal, it may be possible to use a subfloor that levels sufficiently. After (dry) levelling, you can easily lay a wide laminate floor yourself. This also applies to other types of laminate floors, such as Herringbone Laminate!
Guide on laying Vinyl over underfloor heating on tiles
The following step-by-step plan is for laying Dryback Vinyl on a tile floor with underfloor heating. Laying a rigid click vinyl floor, such as Tile Rigid Click Vinyl, requires a different method than laying Tile Vinyl flooring. If you’re interested in a Dryback Vinyl floor, follow steps 1 to 8 to lay it down successfully.
Steps for laying Dryback Vinyl on tiled floors
- Make sure to switch off the underfloor heating 24 hours before the process!Turning on the floor heating while levelling the floor may cause the levelling compound to dry too quickly, which can lead to a failed levelling process.
- Remove any grease from the tiled floor. Begin by decreasing the tiled floor to ensure better adhesion.
- Sand the old tile floor. Sand the tile floor first to improve the adhesion of the primer and levelling compound.
- Thoroughly clean the tile floor. Ensure that the substrate is clean to prevent dust particles from entering the primer and levelling compound.
- Apply the primer. Apply the primer once you have sanded and cleaned the tiles.
- Apply the levelling compound. After applying the primer, it’s time to level the floor. Quickly spread the levelling compound over the floor to prevent it from drying up.
- The underfloor heating can be turned back on after 6 hours. After six hours, the levelling compound will have dried sufficiently to turn on the underfloor heating and begin acclimating the floor.
- Acclimatising the floorboards. After six hours, the levelling compound will have dried sufficiently to turn on the underfloor heating and begin acclimating the floor.
- Sanding up the levelling compound. Has the levelling compound dried and the floor acclimatised? If so, it’s time to sand the levelling floor. This will ensure better adhesion between the adhesive and the vinyl floor!
- Apply another layer of primer. To ensure proper adhesion of the levelling compound and adhesive, it is recommended to apply primer again at this point.
- Apply the glue. Apply the glue and allow it to dry for 20 minutes. Once the glue has dried, lay a vinyl plank on top of it. This will help with adhesion.
- Glue the floorboards! After spreading glue on the floor, you can begin laying the dryback vinyl flooring.
After installing vinyl on tiles with underfloor heating

To ensure the longevity of your vinyl floor, such as a Herringbone Vinyl floor, it’s important to take good care of it not only before and during installation, but also after. On the Floer blog, we provide tips on how to clean and maintain your floor properly, so that it stays beautiful for as long as possible.
Do you prefer a real wooden floor? Then take a look at the Oak Parquet or the Herringbone Parquet. If you would like to see a Floer floor in person, visit your nearest Floer dealer or order a sample to see what the floor would look like in your home.